5 Composite Decking Lighting Ideas
Our composite decking looks great in any setting, but you can really make your outdoor spaces shine with our decking
Products in Stock
Lowest Prices
Express Delivery
10-Year Warranty
Early April Sale. Up To 15% Off.
Let’s face it – that deck in your garden has seen better days. Or perhaps you’ve just built a brand new one and want to ensure it stays looking spick and span for years to come. Whatever your situation, staining your deck is a brilliant way to not only bring out its natural beauty but also to shield it from the unpredictable British weather, ultimately extending its life. Now, before you grab that paintbrush, there are some important steps you’ll want to follow, so let’s get started shall we?
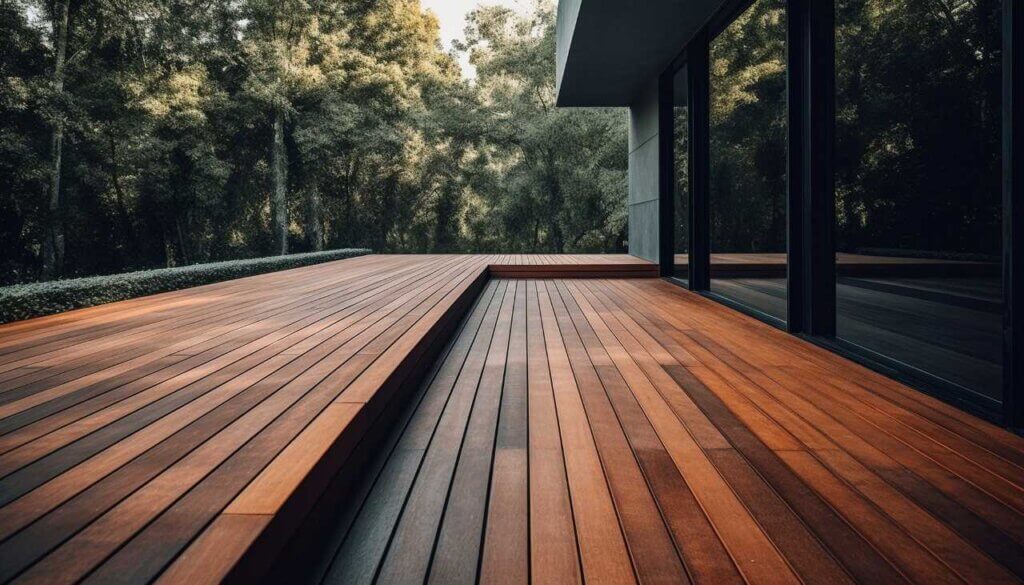
It’s easy to think of deck staining as simply adding a fresh coat of colour, but it’s actually about much more than that. Staining involves applying a protective layer that soaks into the wood, creating a barrier against moisture, those harsh UV rays, and the unpredictable British weather. A decent stain will also accentuate the wood’s natural grain and tones, leaving your deck with a refreshed and vibrant glow.
If you’re on the fence about whether staining your deck is really worth the effort, let us assure you – it is! Staining helps to prevent moisture damage, which can lead to nasty issues like rot, warping, and splitting. And let’s not forget those powerful UV rays – they can cause the wood to fade and become brittle over time. Think of staining as a protective shield, ensuring your deck stays in great shape for many years.
Right, before we dive into the nitty-gritty, let’s gather everything you’ll need:
Preparation is key for achieving that flawless, professional finish. Let’s start by giving your deck a good clean and making any necessary repairs.
Next up, clear the deck of any furniture, plants, or anything else that might get in the way. Sweep away any loose debris, then get to work with your deck cleaner and brightener, following the instructions on the bottle. If your deck is looking particularly grubby, a pressure washer can be a real lifesaver.
Now’s the time to check for any damage. Are there any loose or damaged boards that need replacing? Any nails or screws sticking out? Make sure everything is secure and fill any gaps or holes with wood filler.
Once the deck is clean and dry, give it a light sand to smooth the surface. This helps the stain to adhere properly. You can use sandpaper or an orbital sander, but be gentle – you don’t want to damage the wood.
There’s a whole world of stains out there, so take your time choosing one that’s right for your wood type and the look you want to achieve. Think about the colour, opacity, and how much protection you need. If you’re not sure, pop into your local DIY store or consider the benefits of low-maintenance composite decking, which comes in a beautiful range of colours and textures and never needs staining!
And if you’re interested in a stress-free decking solution, you can shop durable composite decking boards over on our website.
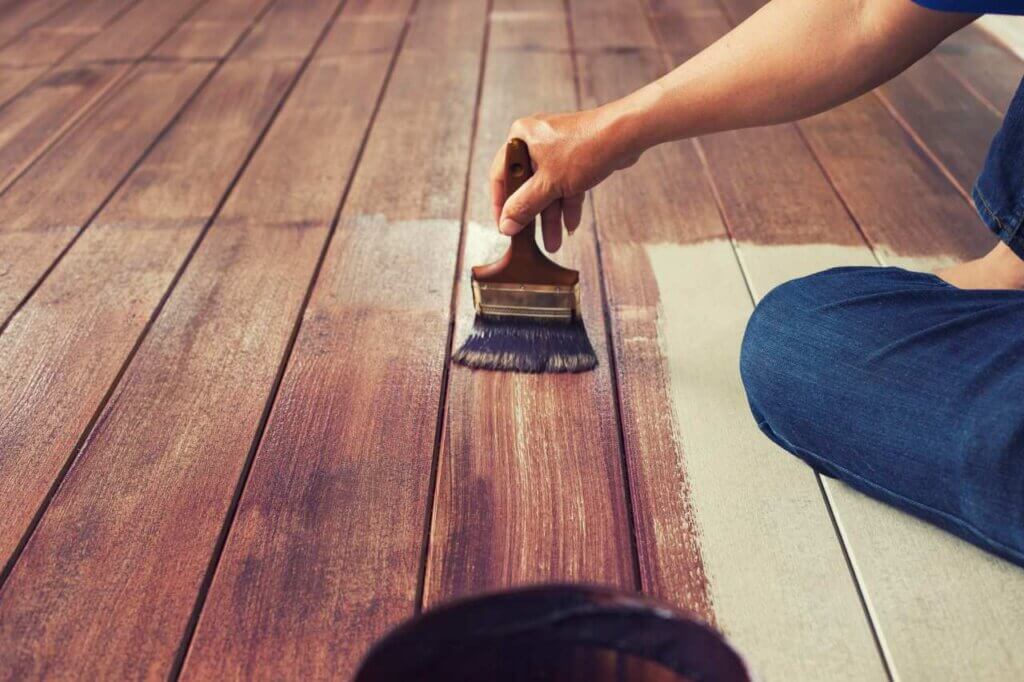
Here comes the fun part! Make sure your deck is bone dry before you start, then stir the stain well and apply it evenly, working with the grain of the wood. You can use a brush or roller, whichever you prefer.
Some stains need a few coats to get the best protection and colour – just make sure the first coat is completely dry before you add another.
Don’t leave those brushes and rollers lying around! Clean them straight away, following the instructions on your stain tin.
Patience is key! Let the stain dry completely before you put anything back on the deck or start walking on it. Drying and curing times vary depending on the type of stain and the weather, so check the tin for guidance.
Once the stain is dry, give your deck a good once-over. Are there any missed spots or uneven patches? Now’s the time to touch them up.
Staining your deck is a project that’s definitely worth the effort, and when you take your time and do things meticulously, you’ll end up with a deck that both looks fantastic and is protected from the elements.
And remember, prevention is always better than cure. Once your deck is stained, consider sealing it to further enhance its protection. If you want to learn more about how to seal your deck properly, have a read of our handy guide we’ve linked here.
Finally, if you’re after a deck that requires virtually no maintenance, why not explore composite decking? It’s durable, beautiful, and easy to care for – perfect for enjoying your outdoor space without the worry.
Our sample pack contains a sample piece of each colour currently available. Order your free sample pack today to compare the colours and get a true feeling of the Dino Decking range!
Our composite decking looks great in any setting, but you can really make your outdoor spaces shine with our decking
If the idea of having rats under your decking makes you shiver, don’t worry. We’ll let you know the signs
Business hours
Monday: 09:00 – 17:30
Tuesday: 09:00 – 17:30
Wednesday: 09:00 – 17:30
Thursday: 09:00 – 17:30
Friday: 09:00 – 17:30
Saturday: Closed
Sunday: Closed
Contact us
01942 355968
support@dino.co.uk
Collection Address: Unit 1 Wetheral Close Hindley Ind Estate Wigan Greater Manchester North West WN2 4HS
Pages
Products
Testing
Copyright 2025 Dino Decking Ltd All Rights Reserved.
VAT Number: GB296097848.
Company Number: 10837233.