5 Composite Decking Lighting Ideas
Our composite decking looks great in any setting, but you can really make your outdoor spaces shine with our decking
Products in Stock
Lowest Prices
Express Delivery
10-Year Warranty
Early April Sale. Up To 15% Off.

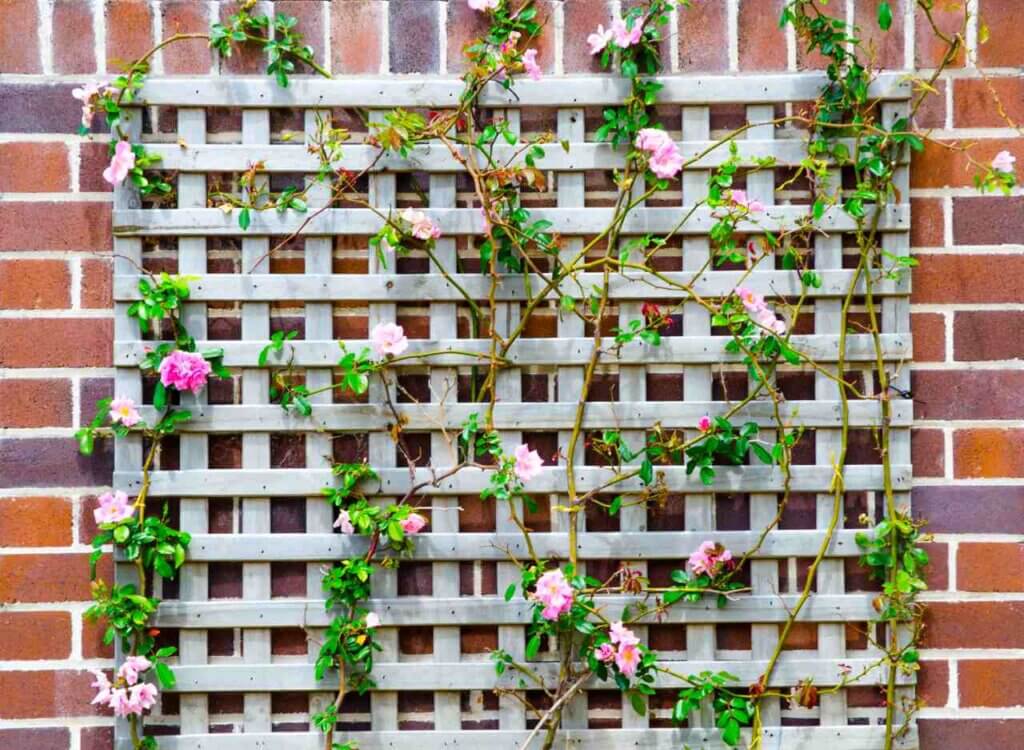
A garden trellis is more than just a functional structure – it’s a canvas for your horticultural creativity. Whether you’re cultivating a wall of fragrant roses or creating a privacy screen with lush foliage, a well-secured trellis is the backbone of your garden design. But as any seasoned gardener knows, a trellis that can’t stand up to the elements is little more than a temporary art installation.
That’s why proper securing techniques are essential for any trellis project. By taking the time to anchor your trellis correctly, you can ensure it will provide sturdy support for your climbing plants season after season. In this guide, we’ll walk through the steps to secure both freestanding and wall-mounted trellises, so you can create a lasting and beautiful feature in your outdoor space.
Before diving into the installation process, gather the following tools and materials:
Consider the sunlight requirements of the plants you intend to grow on your trellis. Most climbing plants thrive in full sun to partial shade, so choose a spot that receives at least six hours of direct sunlight per day. Also, be mindful of wind exposure. While a gentle breeze can help prevent fungal diseases, strong winds can put excessive stress on your trellis and plants.
For freestanding trellises, evaluate the soil conditions in your chosen location. Ideally, you want well-draining soil that’s rich in organic matter. If your soil is heavy clay or poorly draining, consider amending it with compost or installing a raised bed to provide better growing conditions for your climbing plants.
Once you’ve selected the perfect spot, it’s time to anchor your freestanding trellis.
For taller trellises or those in exposed locations, consider using traditional concrete instead of postcrete for added stability. Mix the concrete according to the manufacturer’s instructions and pour it into the post holes, ensuring the posts remain plumb as the concrete sets.

If you’re looking to maximise your growing space or create a stunning backdrop for your garden, attaching a trellis to a wall or fence is a great option.
Properly securing your trellis is just the first step. To ensure it remains stable and in top condition, follow these maintenance tips:
Periodically check the base of freestanding trellises for any signs of ground shifts or settling, which can cause the trellis to lean or become unstable. If necessary, adjust the position of the trellis and re-secure it with additional postcrete.
To prolong the life of your trellis, consider applying an exterior wood preservative or paint to protect it from moisture and UV damage. Regularly inspect the trellis for any signs of rot, rust, or deterioration, and make repairs or replacements as needed.
A well-secured garden trellis is an investment in both the beauty and functionality of your outdoor space. By following these simple steps and maintaining your trellis over time, you can create a stunning vertical garden that will be the envy of the neighbourhood.
Looking for more inspiration? Check out our collection of ideas for garden trellises to help you create the garden of your dreams.

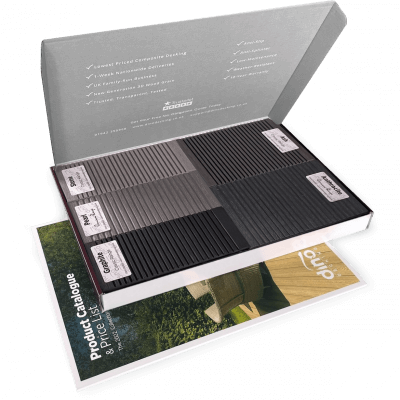
Our sample pack contains a sample piece of each colour currently available. Order your free sample pack today to compare the colours and get a true feeling of the Dino Decking range!
Our composite decking looks great in any setting, but you can really make your outdoor spaces shine with our decking
If the idea of having rats under your decking makes you shiver, don’t worry. We’ll let you know the signs
Business hours
Monday: 09:00 – 17:30
Tuesday: 09:00 – 17:30
Wednesday: 09:00 – 17:30
Thursday: 09:00 – 17:30
Friday: 09:00 – 17:30
Saturday: Closed
Sunday: Closed
Contact us
01942 355968
support@dino.co.uk
Collection Address: Unit 1 Wetheral Close Hindley Ind Estate Wigan Greater Manchester North West WN2 4HS
Pages
Products
Testing
Copyright 2025 Dino Decking Ltd All Rights Reserved.
VAT Number: GB296097848.
Company Number: 10837233.