5 Composite Decking Lighting Ideas
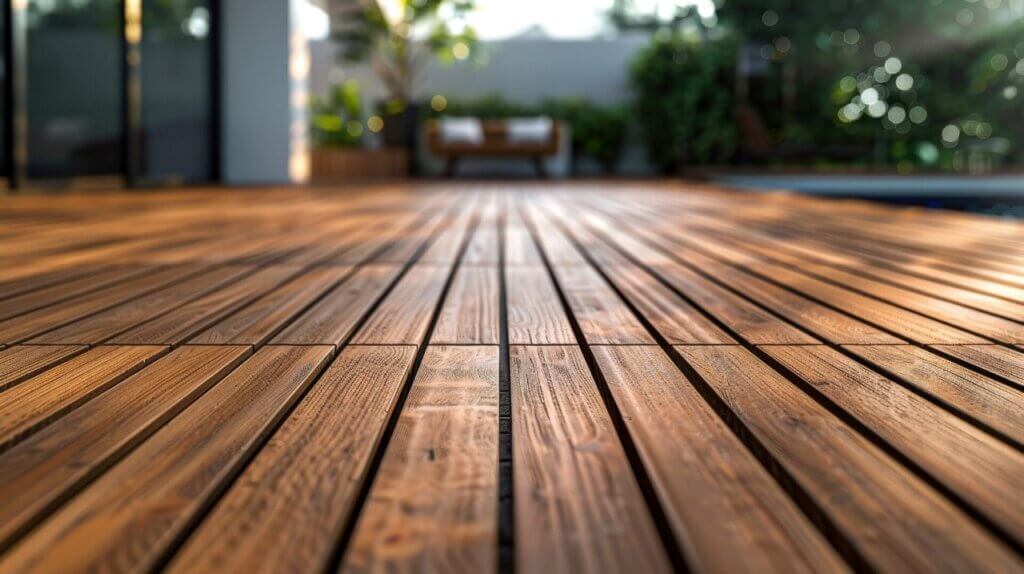
Our composite decking looks great in any setting, but you can really make your outdoor spaces shine with our decking
Products in Stock
Lowest Prices
Express Delivery
10-Year Warranty
Early April Sale. Up To 15% Off.
So, you’re staring at your deck, and it’s looking a little… tired. Faded, perhaps? Maybe peeling? It’s a common issue. After all, our decks take a beating from the elements. But don’t fret; learning how to refinish a deck isn’t as daunting as it might seem. Whether you’re dealing with a painted surface that’s seen better days, or a stained deck that’s lost its lustre, a bit of elbow grease and the right know-how can bring it back to life. Let’s delve into the process, step by step, and get that outdoor space looking its best.
Why put in the effort? Well, beyond the obvious aesthetic improvement, refinishing your deck provides vital protection. Think of it as a shield against rain, sun, and even those pesky insects. A well-maintained deck not only enhances your home’s curb appeal but also extends its lifespan. Plus, it creates a safer, more enjoyable space for gatherings and relaxation.
How do you know it’s time? Keep an eye out for telltale signs. Faded colour is a big one. Look for peeling or cracking paint or stain. If water no longer beads on the surface, that’s another red flag. Splintering wood or visible rot? Definitely time. And if you notice a dull, greyish appearance, it’s a clear indication that your deck’s protective layer has worn away.
Before you dive in, gather your supplies. You’ll need a power washer (or a garden hose with a strong nozzle), a paint scraper, sandpaper or a sanding machine, brushes or rollers, and your chosen paint or stain. Don’t forget safety gear: gloves, eye protection, and a mask are essential. And if you need to shop premium decking materials online, you’ll find everything you need right here at Dino Decking.
Safety first! Make sure you’re working in dry weather and that the deck is completely dry before you begin. Wear appropriate clothing and safety gear. Work in a well-ventilated area, especially when using chemical strippers or sealants. And always follow the manufacturer’s instructions for any products you use.
This is a crucial step. Start by sweeping away any debris. Then, use a power washer or a garden hose to thoroughly clean the deck. For stubborn stains or mildew, use a deck cleaner. Scrub thoroughly and rinse well. Allow the deck to dry completely before moving on.
Use a paint scraper or a chemical stripper to remove any loose or peeling paint. For tough spots, a sanding machine can be helpful. Be thorough; any remaining loose paint will affect the new finish.
Sand the entire deck surface to create a smooth base for the new paint. Pay extra attention to rough areas. Wipe away any sanding dust with a damp cloth.
Choose a high-quality exterior paint designed for decks. Apply it evenly using a brush or roller. Two thin coats are usually better than one thick coat. Allow the paint to dry completely between coats.
Apply a clear sealant to protect the new paint from the elements. This will also enhance the durability of the finish.
Use a chemical stripper or a sanding machine to remove the old stain. This step is crucial for achieving an even finish with the new stain.
Sand the deck surface to smooth out any rough spots and prepare it for the new stain. Wipe away any sanding dust.
Choose a high-quality exterior stain that suits your style and the type of wood. Apply it evenly using a brush or roller, and follow the manufacturer’s instructions for drying times. Remember, you can find a useful guide to staining a deck over on our blog – have a read through if it’s your first time performing a refinish.
Apply a clear sealant to protect the new stain and enhance its durability. This will also help to prevent fading and weathering.
Regular sweeping and cleaning will help to keep your deck looking its best. Address any issues promptly to prevent further damage.
Consider using deck covers or tarps during extreme weather conditions. This will help to protect the finish and extend its lifespan.
Don’t rush the process. Allow adequate drying time between coats. Avoid applying paint or stain in direct sunlight or during humid weather. And always use high-quality products.
Refinishing your deck is an investment in your home and your enjoyment of your outdoor space. While it requires some effort, the results are well worth it. By following these steps and taking your time, you can achieve a professional-looking finish that will last for years. Remember, whether you’re addressing how to refinish a deck that has been painted or considering how to refinish a deck that has been stained, the principles are largely the same. With proper preparation and attention to detail, you can transform your deck into a beautiful and functional outdoor oasis.
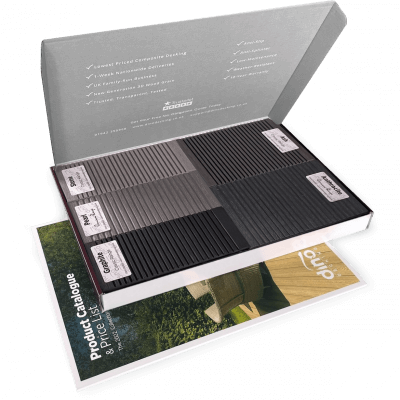
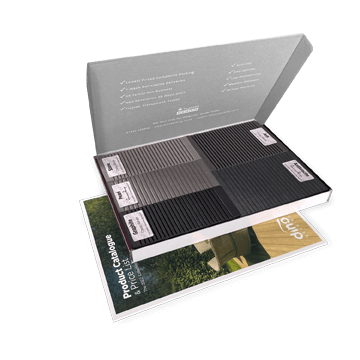
Our sample pack contains a sample piece of each colour currently available. Order your free sample pack today to compare the colours and get a true feeling of the Dino Decking range!
Our composite decking looks great in any setting, but you can really make your outdoor spaces shine with our decking
If the idea of having rats under your decking makes you shiver, don’t worry. We’ll let you know the signs
Business hours
Monday: 09:00 – 17:30
Tuesday: 09:00 – 17:30
Wednesday: 09:00 – 17:30
Thursday: 09:00 – 17:30
Friday: 09:00 – 17:30
Saturday: Closed
Sunday: Closed
Contact us
01942 355968
support@dino.co.uk
Collection Address: Unit 1 Wetheral Close Hindley Ind Estate Wigan Greater Manchester North West WN2 4HS
Pages
Products
Testing
Copyright 2025 Dino Decking Ltd All Rights Reserved.
VAT Number: GB296097848.
Company Number: 10837233.