5 Composite Decking Lighting Ideas
Our composite decking looks great in any setting, but you can really make your outdoor spaces shine with our decking
Products in Stock
Lowest Prices
Express Delivery
10-Year Warranty
Early April Sale. Up To 15% Off.
Transforming your outdoor space with composite decking can give it a modern, polished look that lasts. And if you’re aiming for a seamless finish with no visible screws or nails, installing your composite decking with hidden fasteners is the way to go.
Doing so, however, is easier said than done. To help you better understand how to properly install a composite deck with hidden fasteners, read this article until the very end as we’ll go into more detail about:
But before we dive deeper into the topics above, we’d first like to explain why using hidden fasteners for composite decking is a good idea to begin with.
Hidden fasteners are a great choice for composite decking because they provide a sleek, polished look without visible screws or nails. Not only does this eliminate any unsightly hardware, but it also prevents issues such as corrosion or splintering over time.
By keeping the surface smooth and free of protruding fasteners, your deck will be both more aesthetically pleasing and safer for walking barefoot. Additionally, hidden fasteners tend to hold the boards more securely, reducing the risk of the decking warping or shifting over time.
Before you start, gathering all the necessary tools and materials will make your installation process smoother and more efficient. Here’s what you’ll need:
Installing composite decking with hidden fasteners may seem tricky at first, but breaking the process down into more manageable steps makes everything much more approachable. To ensure that your deck is installed correctly and securely, follow these six steps:
The first step is to ensure your deck frame is properly prepared and level. The structure needs to be solid and secure before you begin laying down the decking boards. Measure the spacing between joists to ensure they meet the recommended distance for composite decking.
Starter clips are essential for the first row of decking. Attach these clips to the edge of the frame, making sure they are evenly spaced. The clips will hold the first decking board in place.
Once the starter clips are attached, place the first decking board on top of the clips. Make sure the board is aligned properly with the frame. If necessary, trim the edges to ensure a perfect fit.
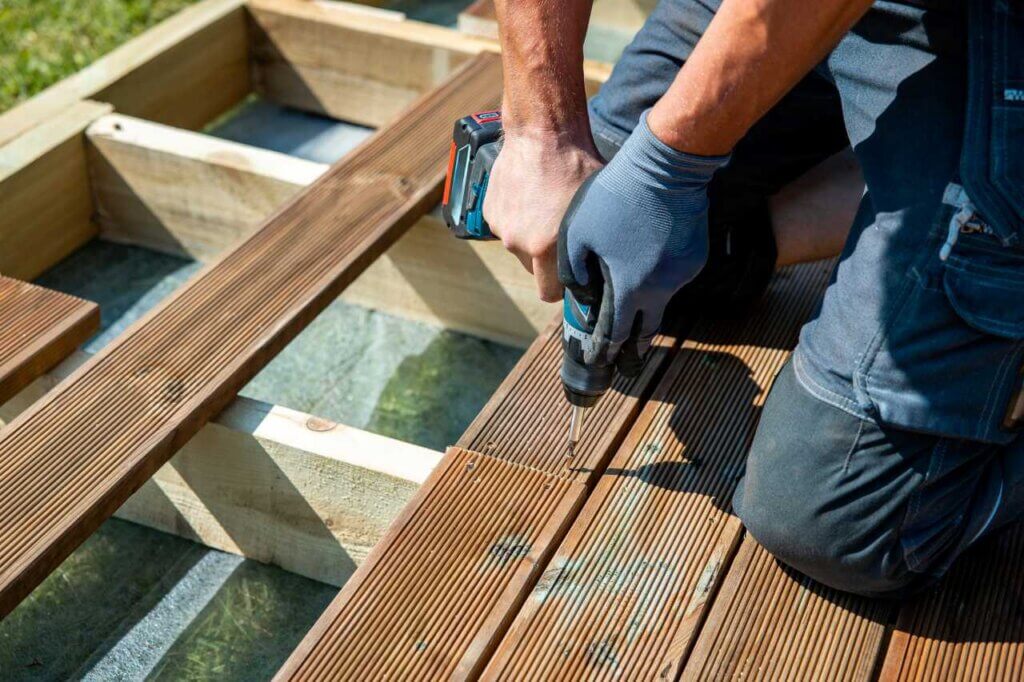
For each subsequent board, insert the hidden fasteners between the boards and into the grooves. These fasteners will hold the boards securely without needing visible screws or nails. Use your drill to ensure each fastener is properly installed.
Continue placing the remaining decking boards, making sure to align them with the previous ones. Insert hidden fasteners into each groove, securing the boards in place. Check your work regularly to ensure that the boards are level and aligned.
Once you’ve installed all the boards, measure and trim the final board to fit the remaining space. Use your drill to secure the last board in place, ensuring it’s properly aligned with the others.

To make the process even easier, here are some additional tips for a smoother installation:
Ensure there’s a consistent gap between each decking board. This allows for proper drainage and expansion/contraction of the material over time. Use spacers to help keep the gaps uniform.
Take the time to check the alignment of the boards as you go. This will prevent issues later on, such as uneven boards or gaps.
Composite decking expands and contracts with temperature changes. Make sure to leave some room for this expansion when installing the boards to prevent warping or buckling.
While installing composite decking with hidden fasteners is fairly straightforward, there are a few common mistakes to watch out for.
Some installers skip using starter clips, thinking they can get away without them. However, they are crucial for securing the first row of decking, so don’t skip this step.
Over-tightening the fasteners can lead to damage, including warping or cracking of the decking boards. Tighten the fasteners enough to secure the boards, but be careful not to overtighten.
Each decking brand has specific guidelines for installation. Make sure to read and follow these guidelines carefully to ensure the warranty is valid and your deck lasts for years to come.
Installing composite decking with hidden fasteners is a great way to create a sleek and polished outdoor space. By following the steps and tips outlined in this article, you’ll be able to install your deck with confidence and enjoy a beautiful, long-lasting result for many years to come.
And remember, if you’ve never done anything like this before, be patient and always double and triple check before you do anything to avoid any simple mistakes.
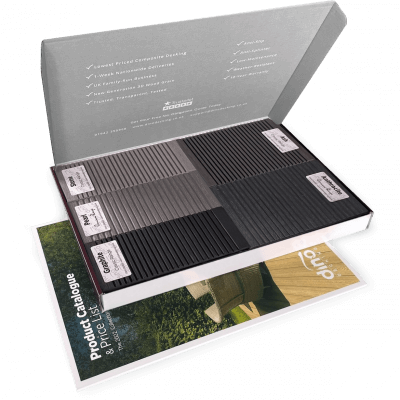
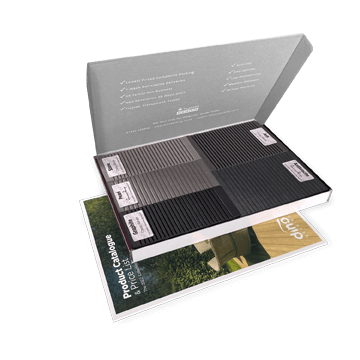
Our sample pack contains a sample piece of each colour currently available. Order your free sample pack today to compare the colours and get a true feeling of the Dino Decking range!
Our composite decking looks great in any setting, but you can really make your outdoor spaces shine with our decking
If the idea of having rats under your decking makes you shiver, don’t worry. We’ll let you know the signs
Business hours
Monday: 09:00 – 17:30
Tuesday: 09:00 – 17:30
Wednesday: 09:00 – 17:30
Thursday: 09:00 – 17:30
Friday: 09:00 – 17:30
Saturday: Closed
Sunday: Closed
Contact us
01942 355968
support@dino.co.uk
Collection Address: Unit 1 Wetheral Close Hindley Ind Estate Wigan Greater Manchester North West WN2 4HS
Pages
Products
Testing
Copyright 2025 Dino Decking Ltd All Rights Reserved.
VAT Number: GB296097848.
Company Number: 10837233.