-
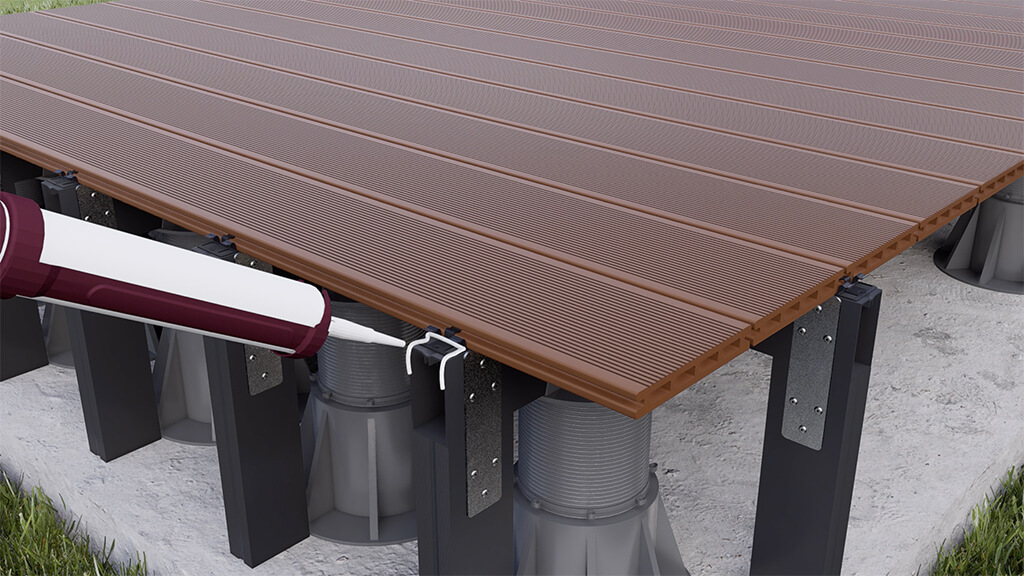
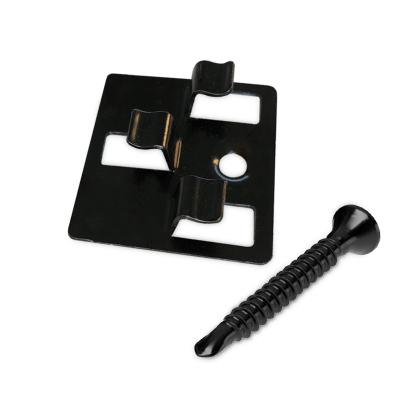 3mm Hidden Fasteners (100 Bag)£29.99inc VAT
Per Box -
 Hidden Starter Fasteners (100 Bag)£26.99inc VAT
Per Box -
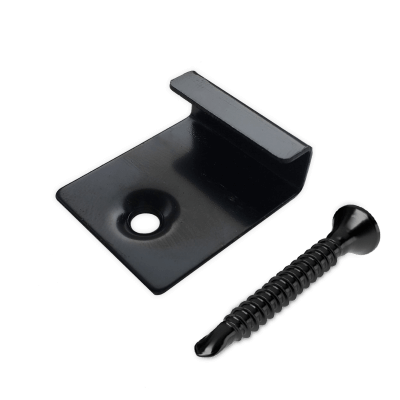
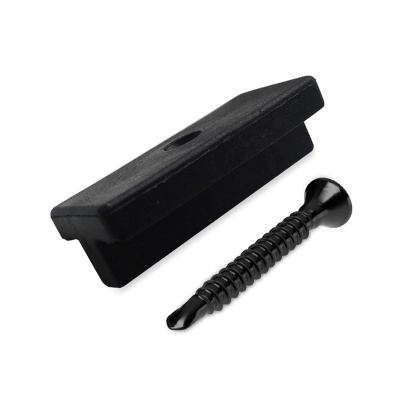 6mm Hidden Fasteners (100 Bag)£19.99inc VAT
Per Box
-
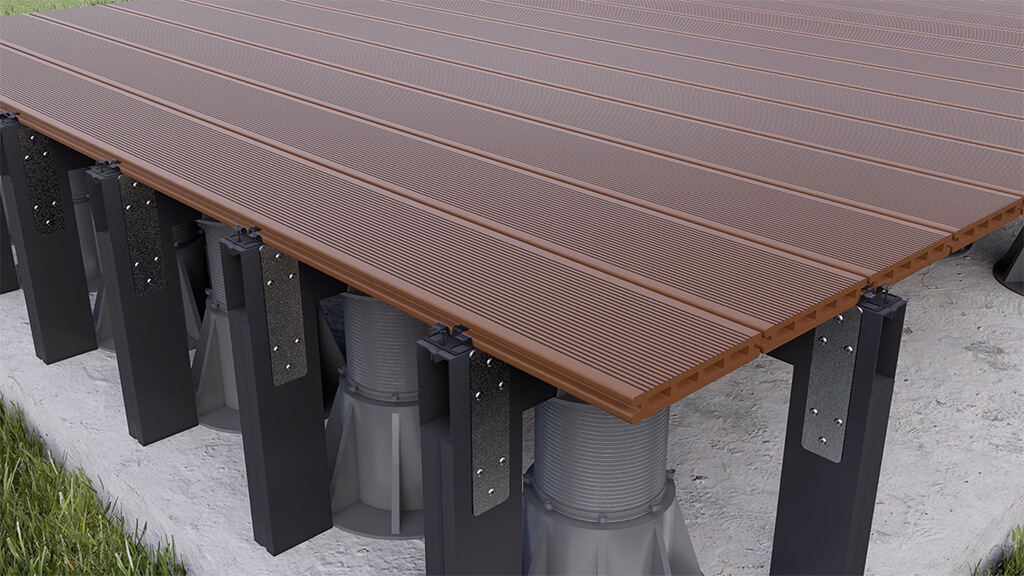
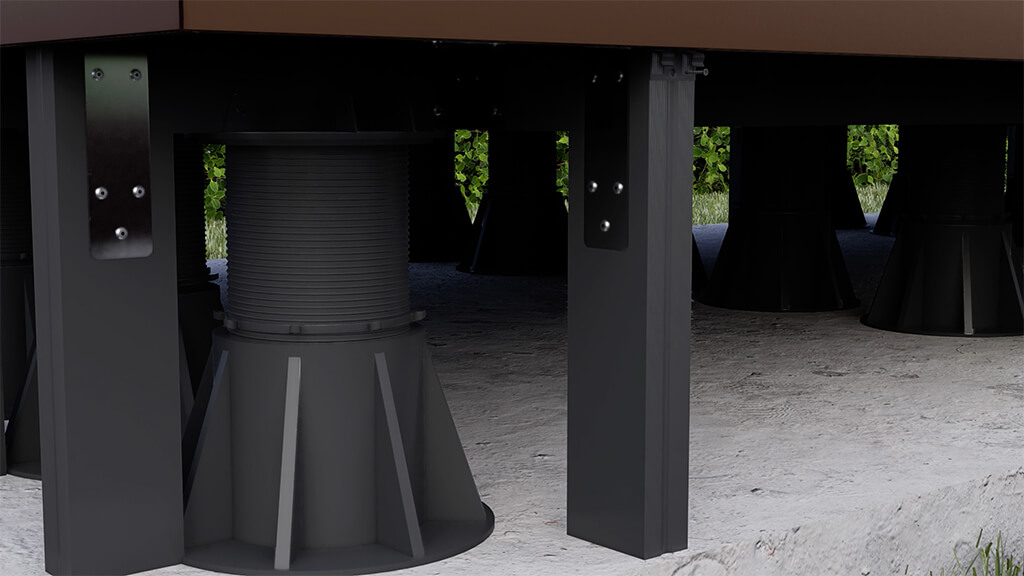
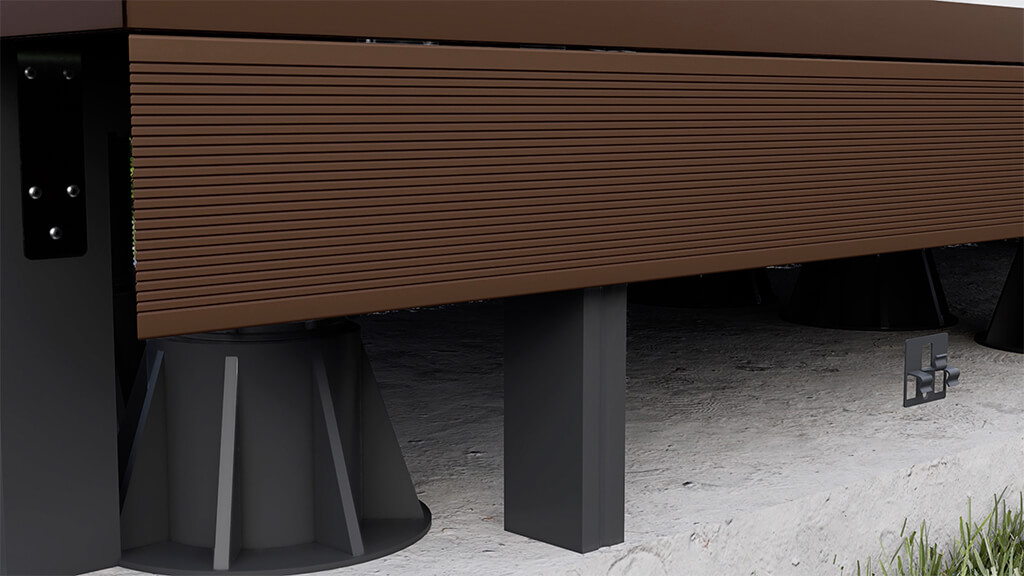
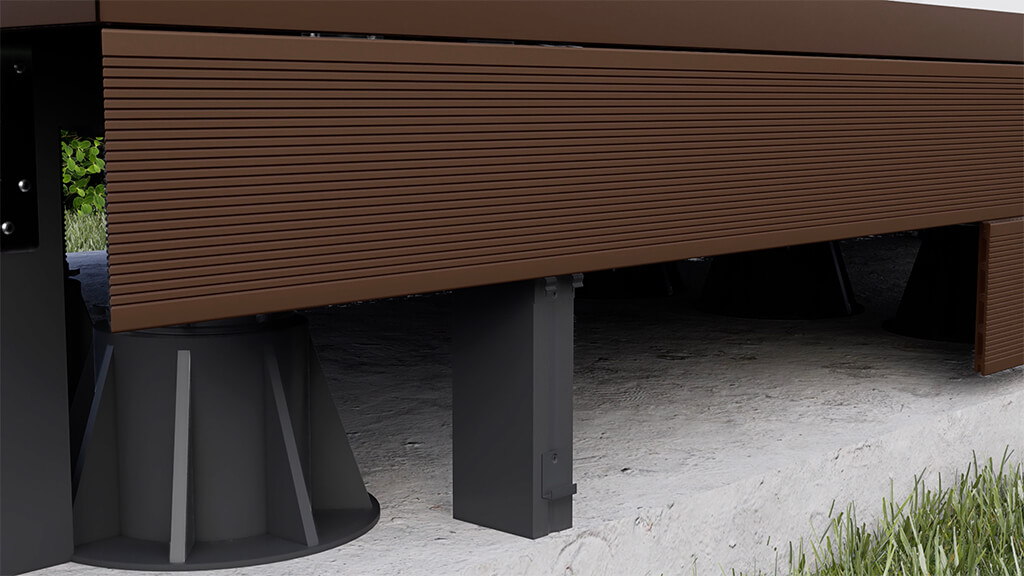
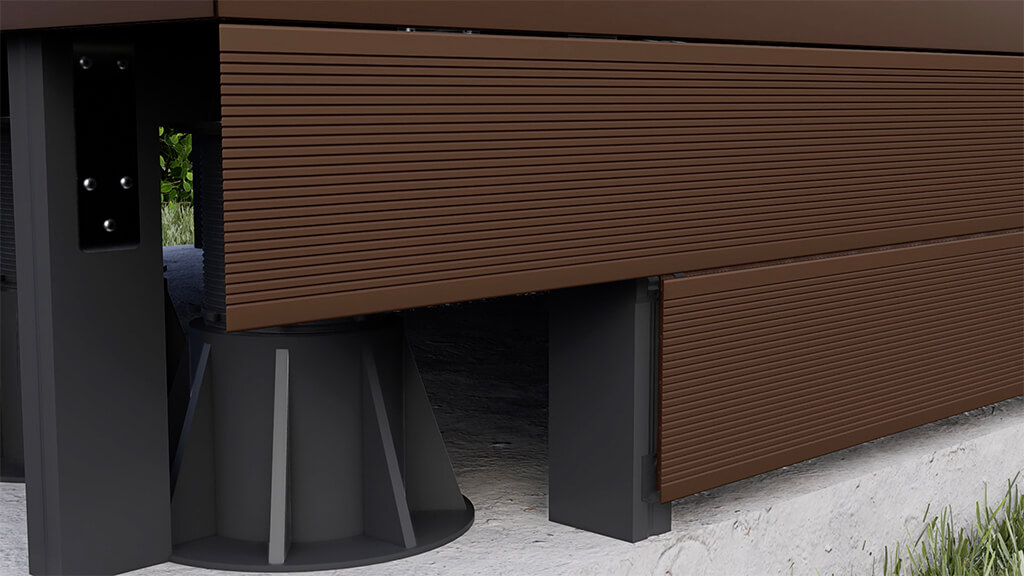
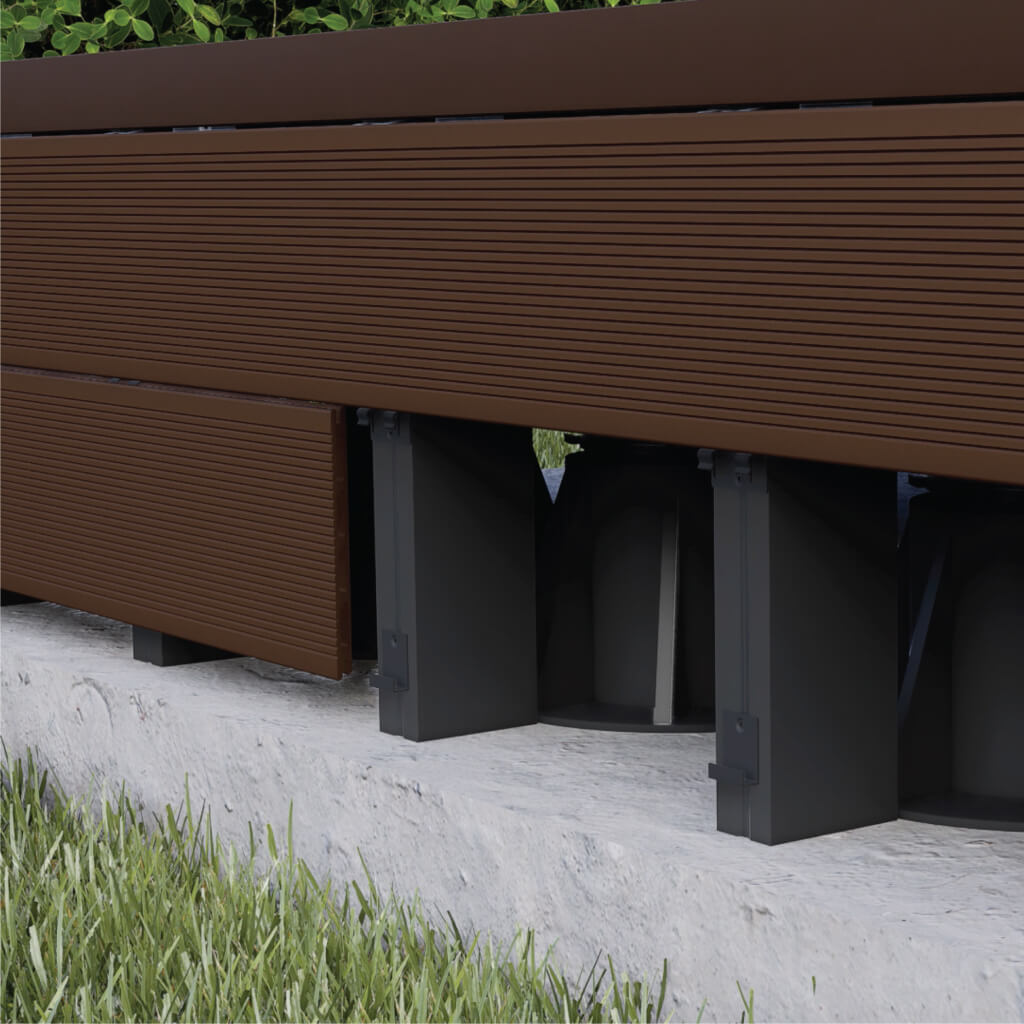
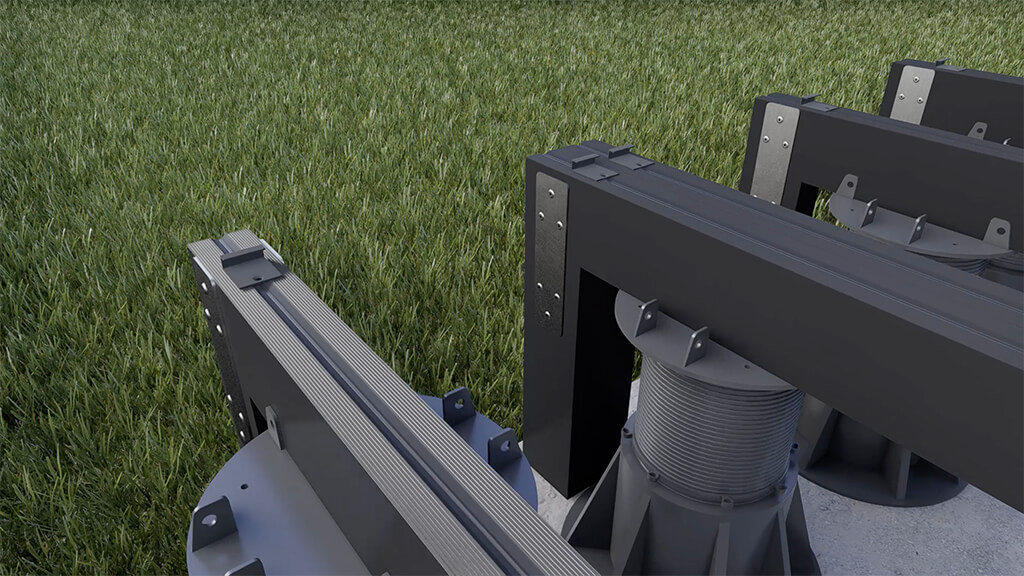
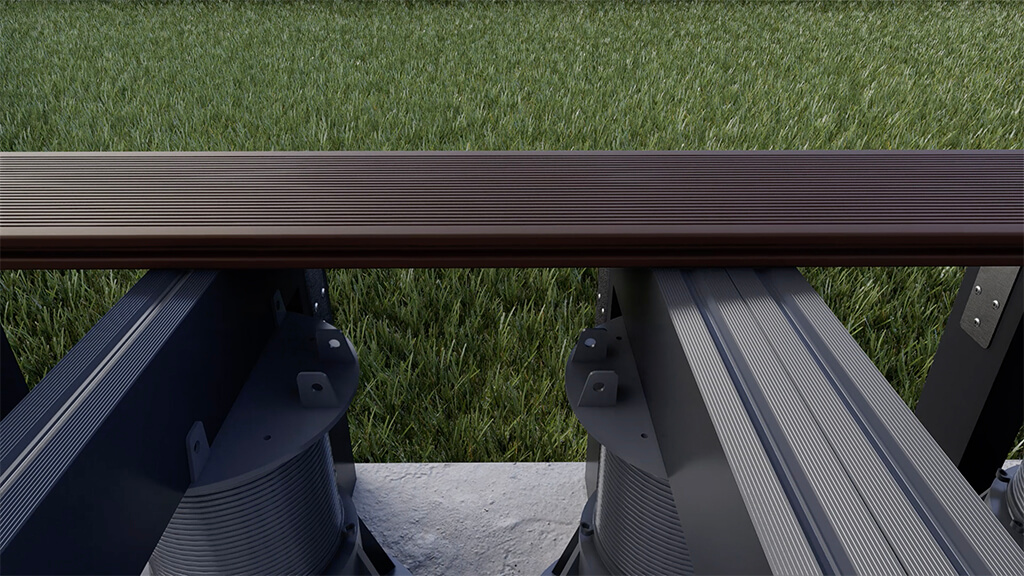
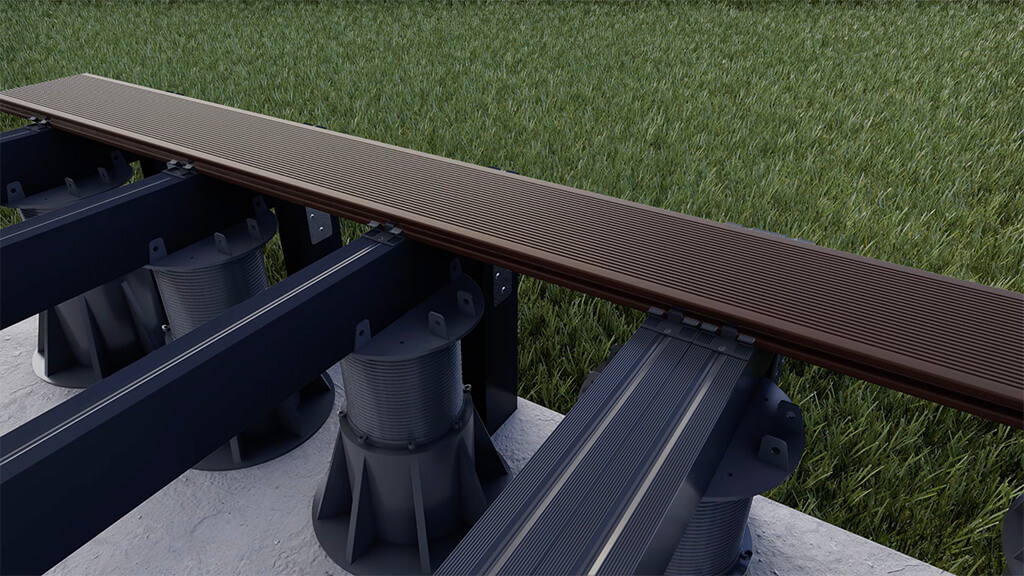
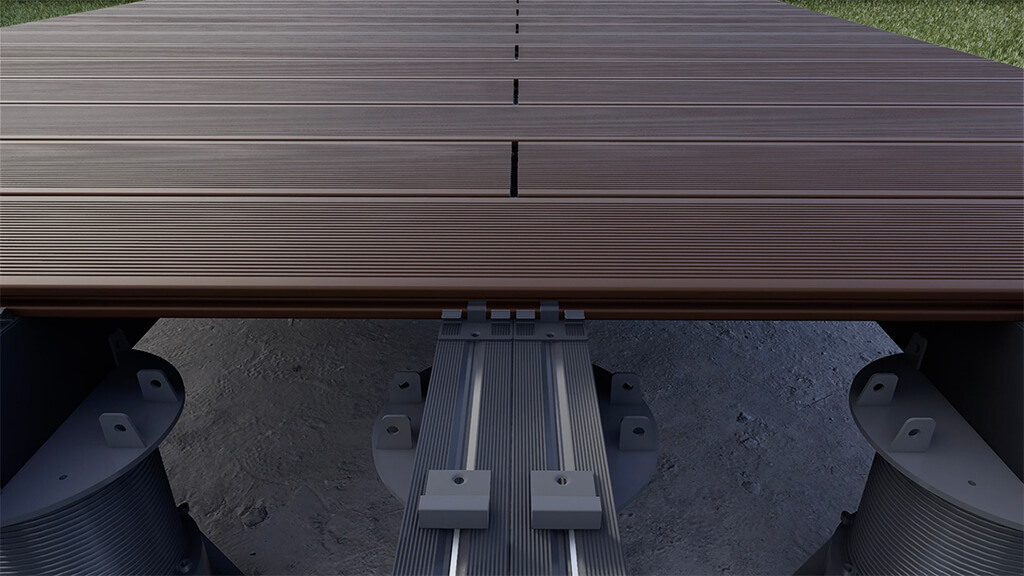
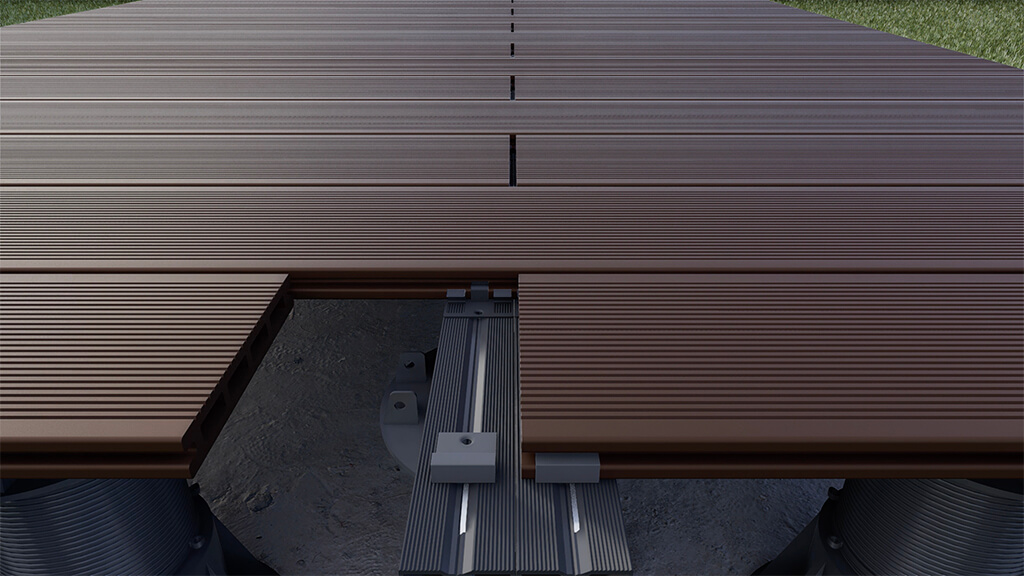
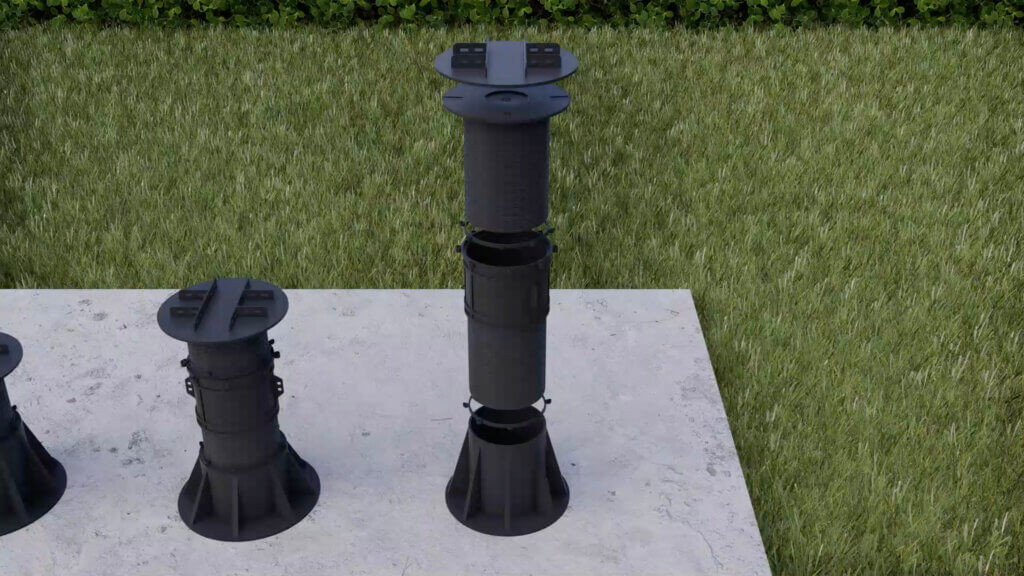
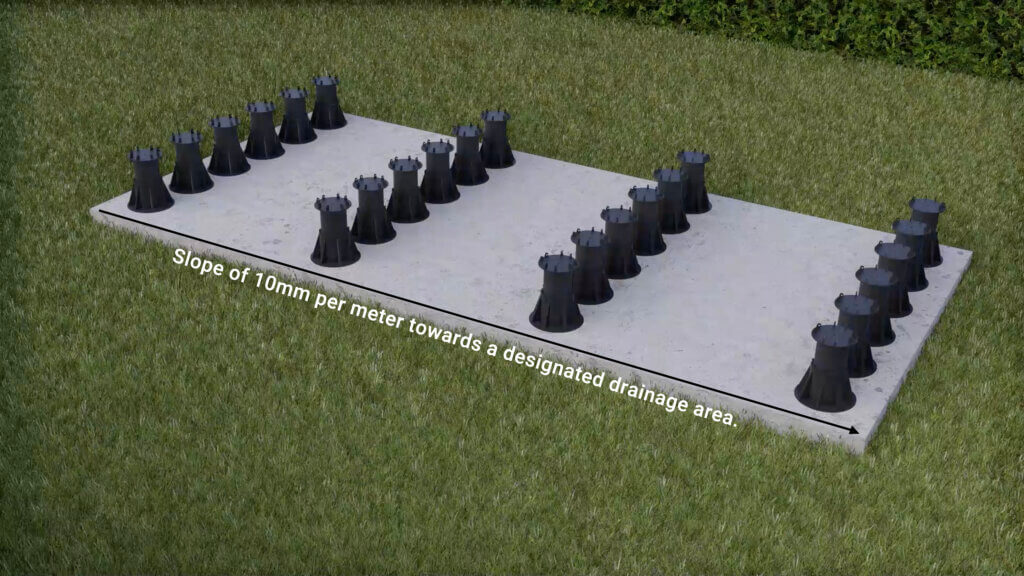
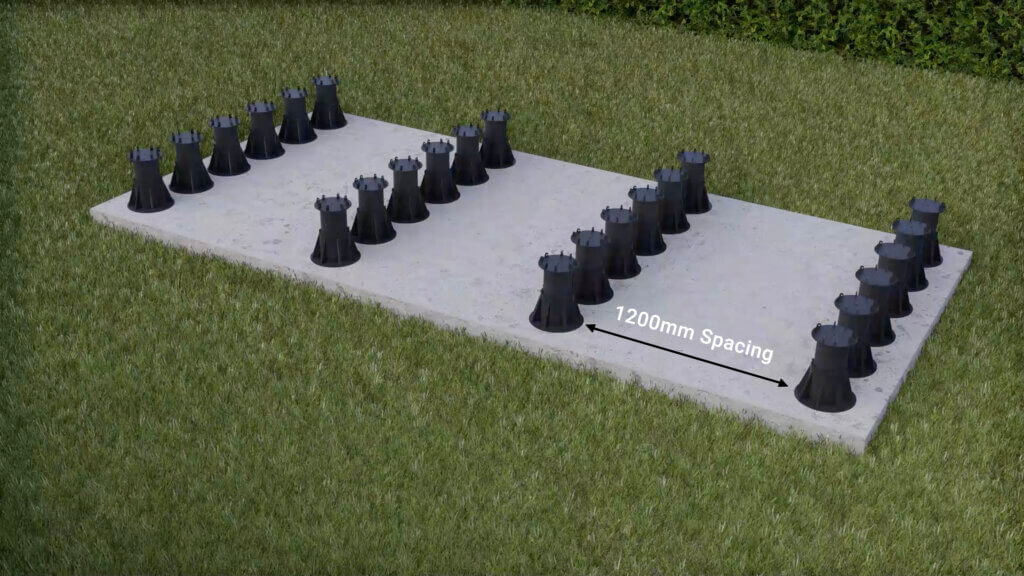
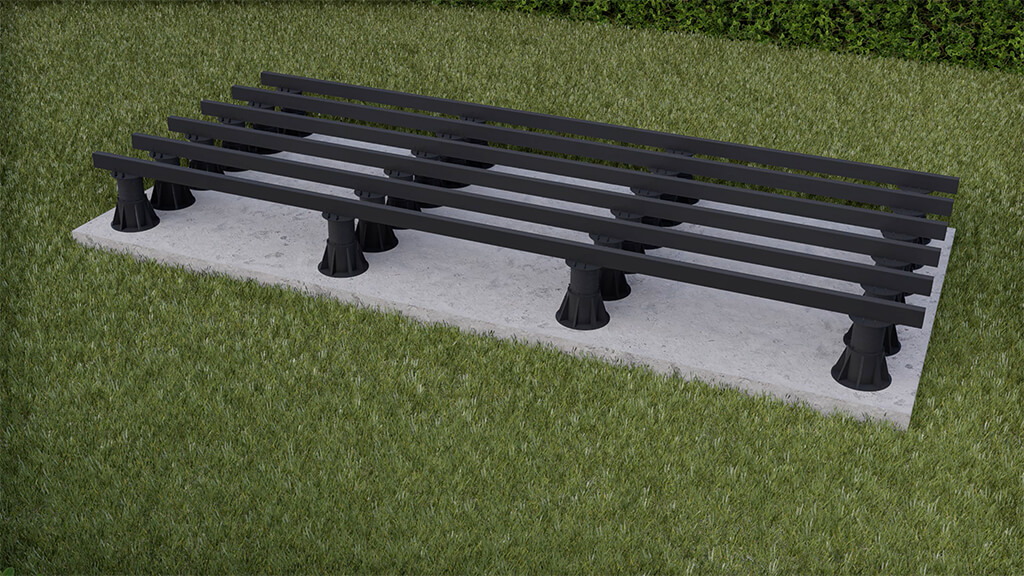
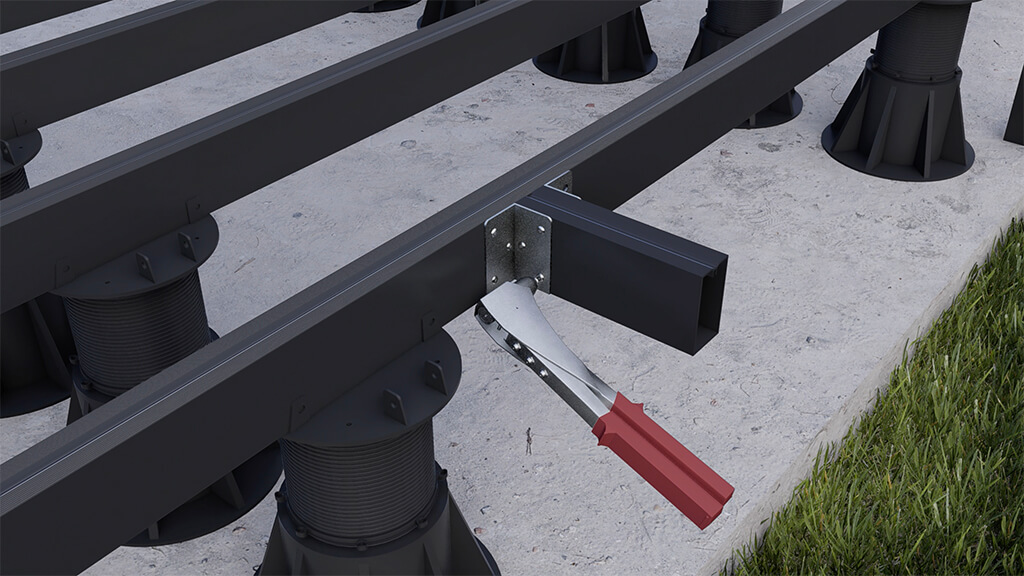
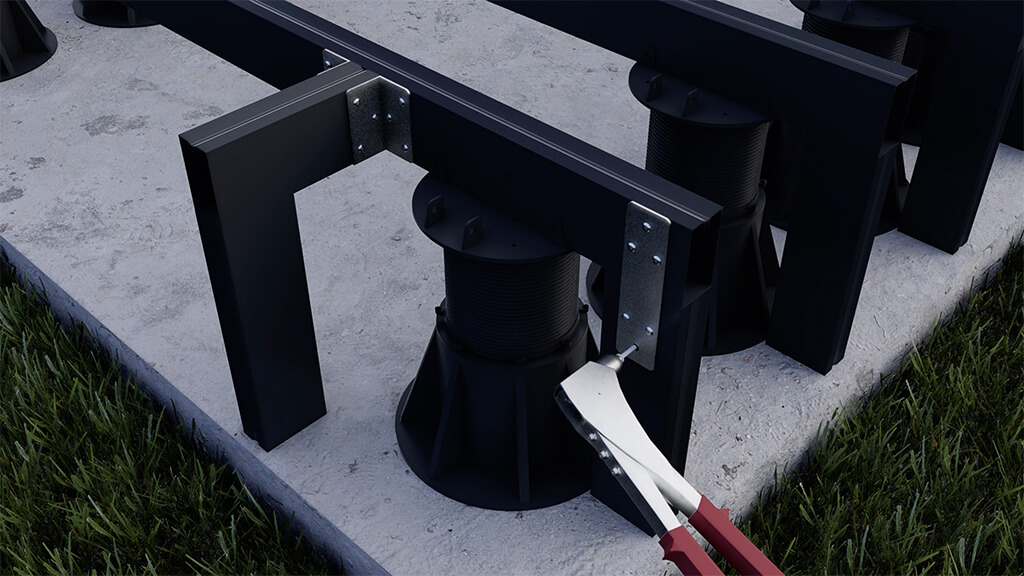
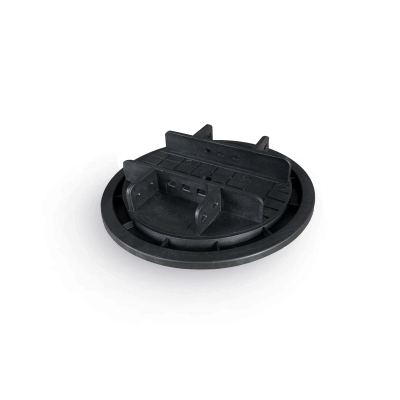 Fixed Pedestal Support 15mm£2.79inc VAT
Per Unit -
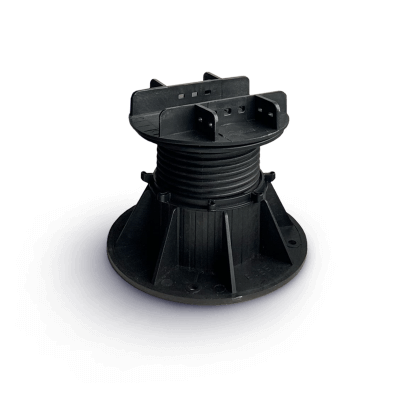
 Adjustable Pedestal Supports 365-528mm£12.99inc VAT
Per Unit -
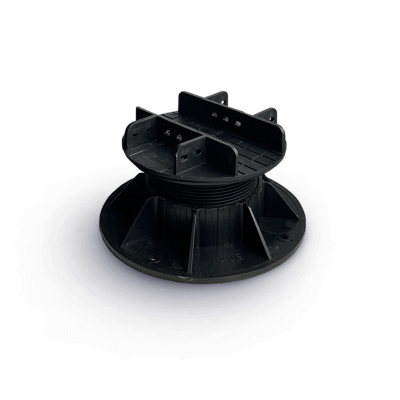
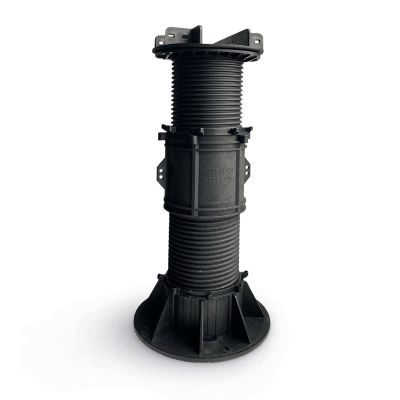 Adjustable Pedestal Supports 265-365mm£9.99inc VAT
Per Unit -
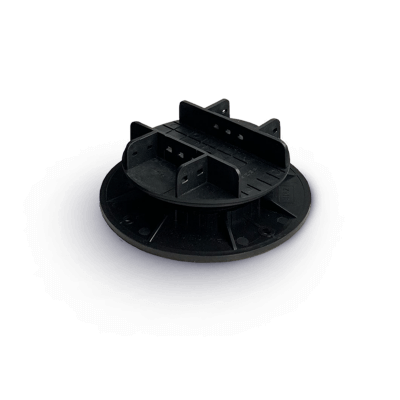
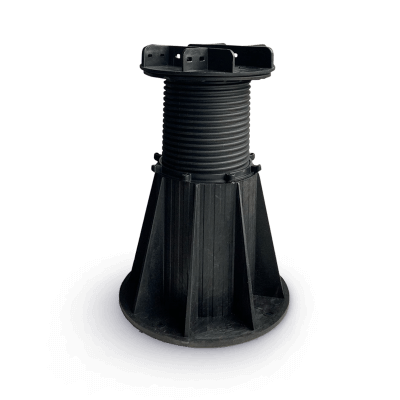 Adjustable Pedestal Supports 165-265mm£7.99inc VAT
Per Unit -
 Adjustable Pedestal Supports 137-165mm£6.99inc VAT
Per Unit -
 Adjustable Pedestal Supports 100-128mm£5.49inc VAT
Per Unit -
 Adjustable Pedestal Supports 75-100mm£4.99inc VAT
Per Unit -
 Adjustable Pedestal Supports 48-75mm£4.49inc VAT
Per Unit -
 Adjustable Pedestal Supports 28-35mm£3.99inc VAT
Per Unit -
 Adjustable Pedestal Supports 23-28mm£3.79inc VAT
Per Unit

-
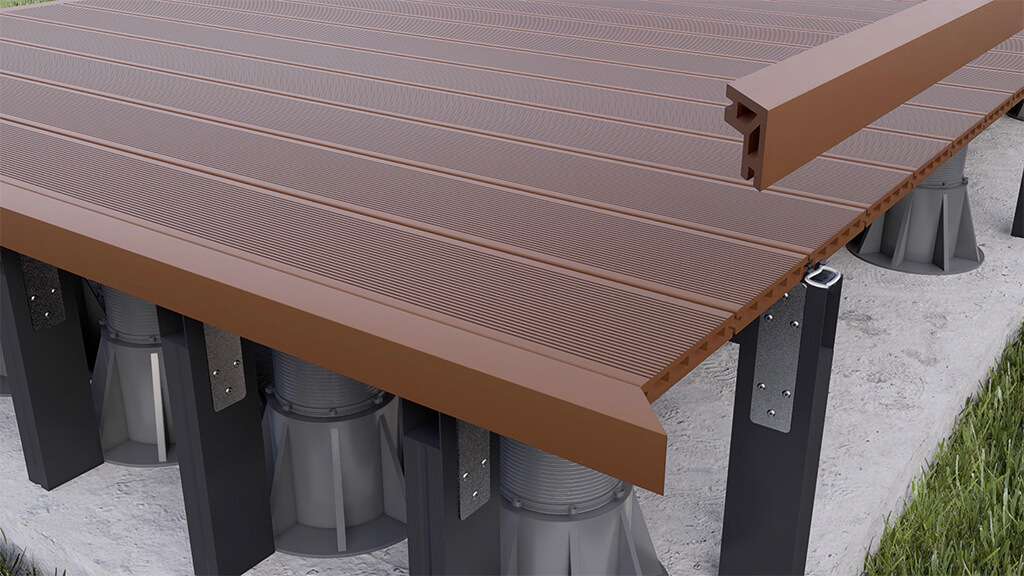
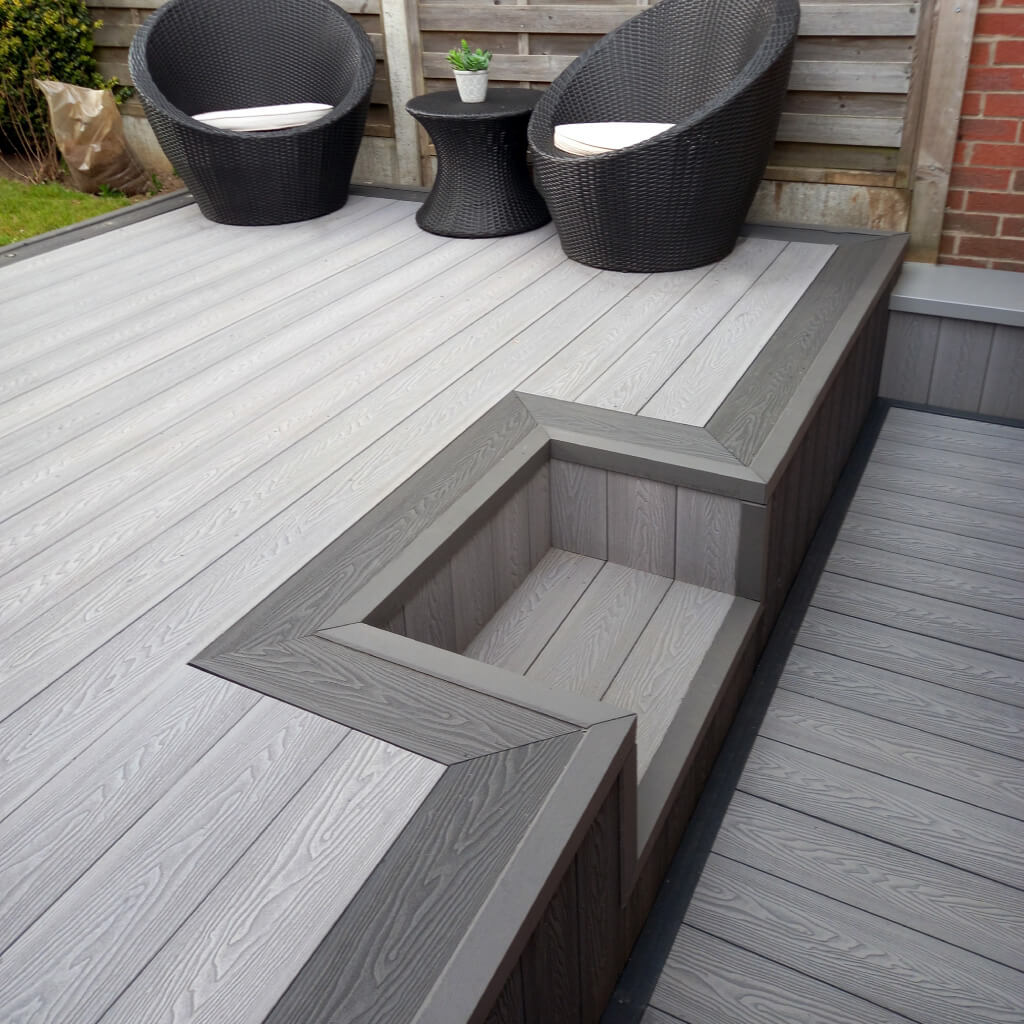
 Edging Trim – Sage Green 2.2m£8.99inc VAT
 -
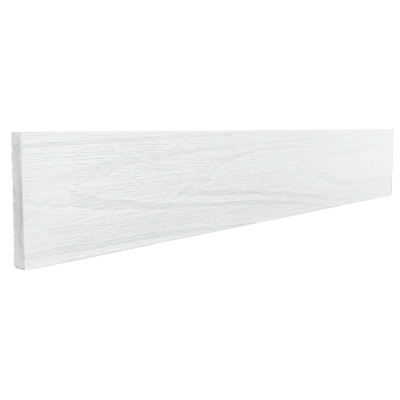
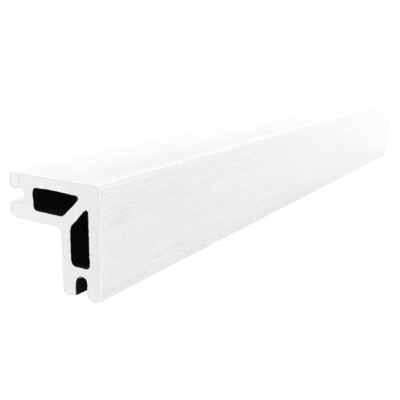
 Edging Trim – White Onyx 2.2m£8.99inc VAT
 -
 Edging Trim – Walnut 2.2m£8.99inc VAT
 -
 Edging Trim – Pearl 2.2m£8.99inc VAT
 -
 Edging Trim – Anthracite 2.2m£8.99inc VAT
 -
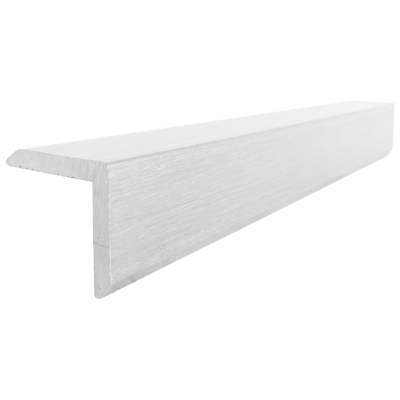
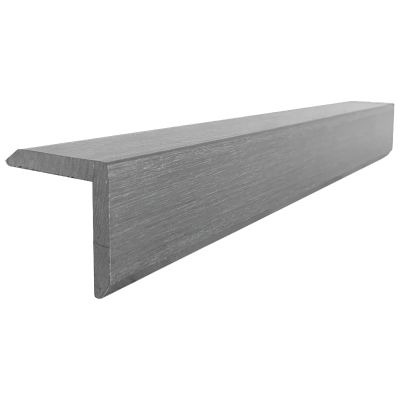
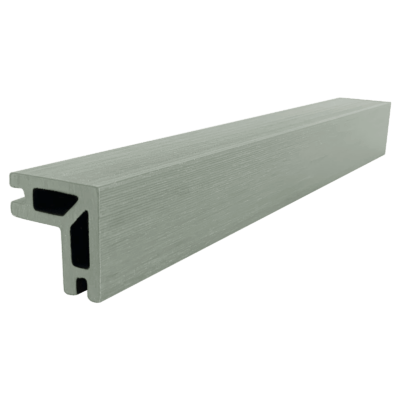
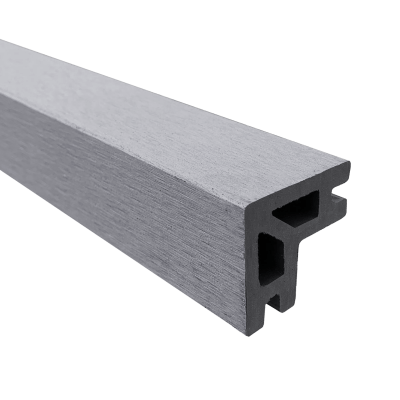
 Light Grey Corner Trim – Stone 2.2m£7.99inc VAT
Per length -
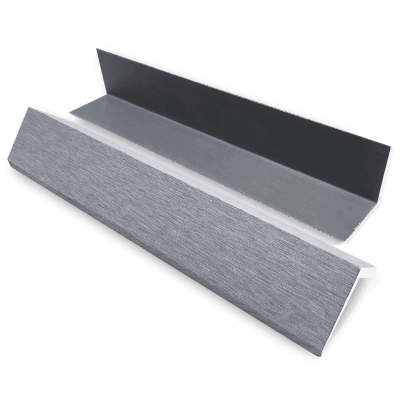
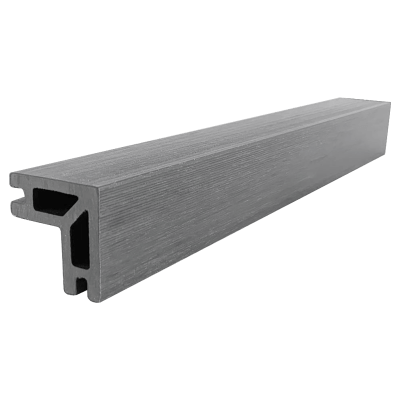
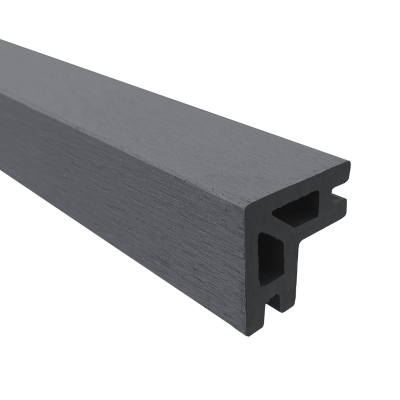
 Grey Corner Trim – Ash 2.2m£7.99inc VAT
Per length -
 Corner Trim – Savanna 2.2m£7.99inc VAT
Per length -
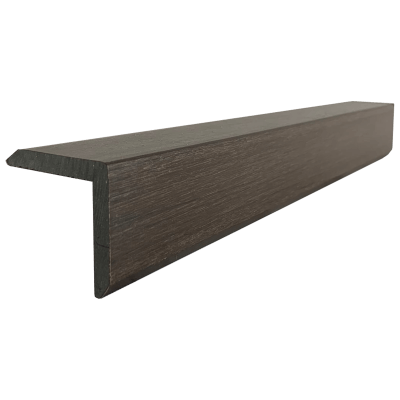
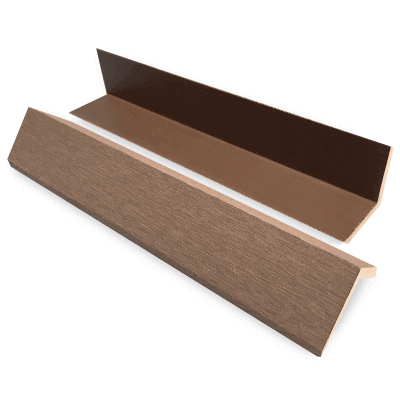
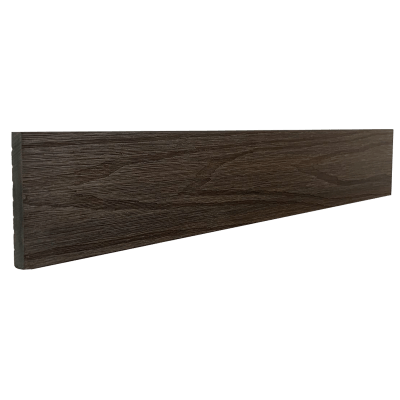
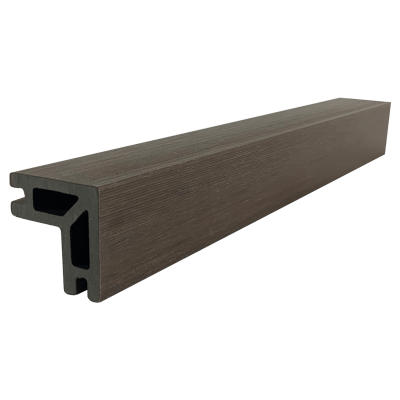
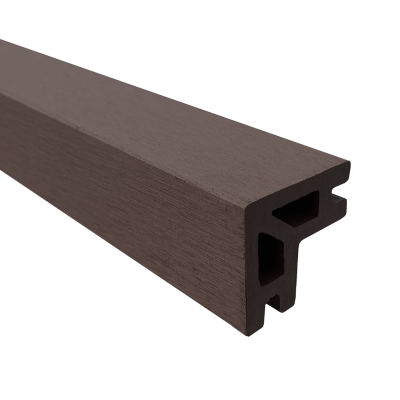
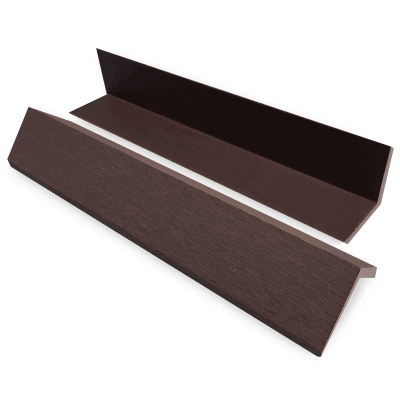 Brown Corner Trim – Mocha 2.2m£7.99inc VAT
Per length -
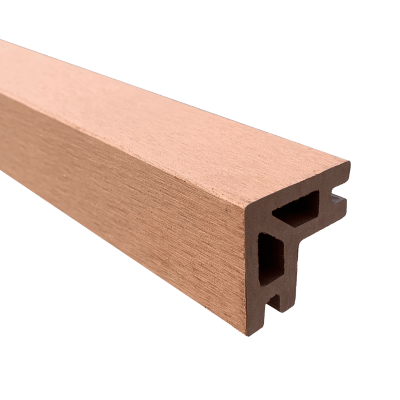
 Teak Corner Trim – Amber 2.2m£7.99inc VAT
Per length -
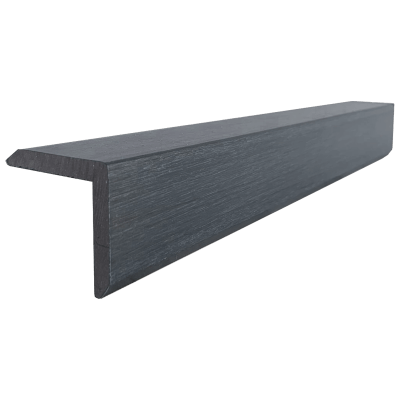
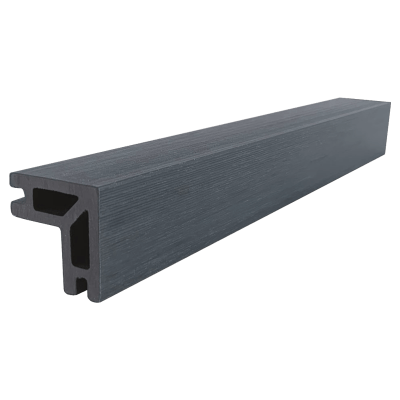
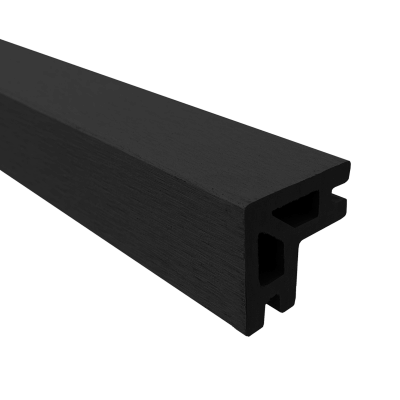
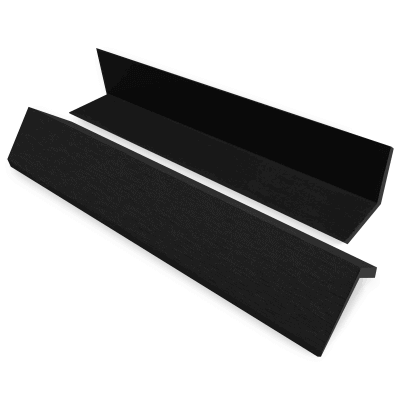 Black Corner Trim – Graphite 2.2m£7.99inc VAT
Per length
-
 Skirting Board – Sage Green 2.2m£10.99inc VAT
 -
 Skirting Board – White Onyx 2.2m£10.99inc VAT
 -
 Skirting Board – Walnut 2.2m£10.99inc VAT
 -
 Skirting Board – Pearl 2.2m£10.99inc VAT
 -
 Skirting Board – Anthracite 2.2m£10.99inc VAT
 -
 Light Grey Fascia Board – Stone 2.2m£9.99inc VAT
Per length -
 Grey Fascia Board – Ash 2.2m£9.99inc VAT
Per length -
 Teak Fascia Board – Amber 2.2m£9.99inc VAT
Per length -
 Brown Fascia Board – Mocha 2.2m£9.99inc VAT
Per length -
 Fascia Board – Savanna 2.2m£9.99inc VAT
Per length -
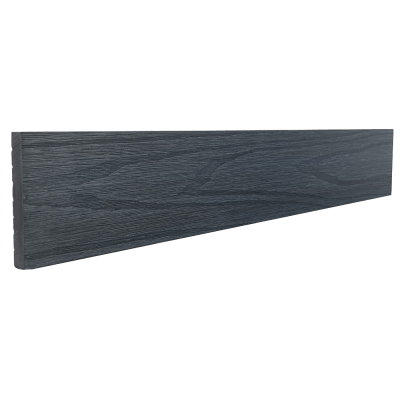
 Black Fascia Board – Graphite 2.2m£9.99inc VAT
Per length

-
 Bullnose Edge – Sage Green 2.2m£16.99inc VAT
 -
 Bullnose Edge – White Onyx 2.2m£16.99inc VAT
 -
 Bullnose Edge – Walnut 2.2m£16.99inc VAT
 -
 Bullnose Edge – Pearl 2.2m£16.99inc VAT
 -
 Bullnose Edge – Anthracite 2.2m£16.99inc VAT
 -
 Light Grey Bullnose Edge – Stone 2.2m£14.99inc VAT
Per length -
 Teak Bullnose Edge – Amber 2.2m£14.99inc VAT
Per length -
 Brown Bullnose Edge – Mocha 2.2m£14.99inc VAT
Per length -
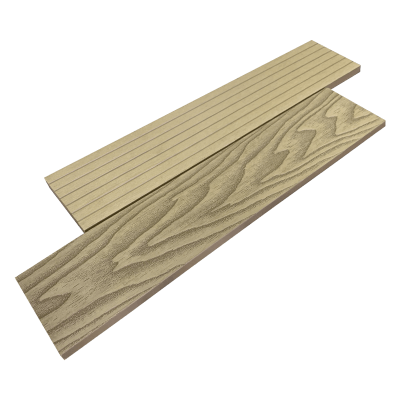
 Bullnose Edge – Savanna 2.2m£14.99inc VAT
Per length -
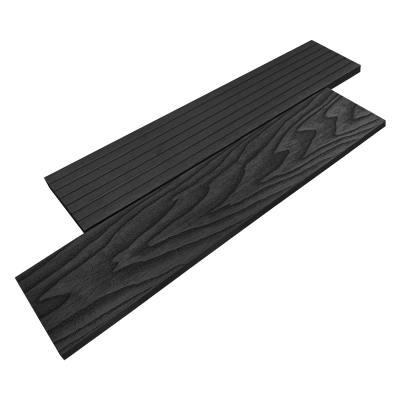
 Black Bullnose Edge – Graphite 2.2m£14.99inc VAT
Per length -
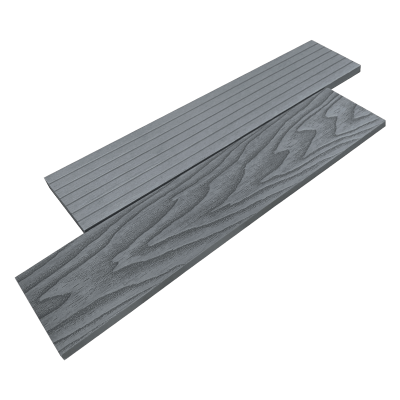
 Grey Bullnose Edge – Ash 2.2m£14.99inc VAT
Per length