5 Composite Decking Lighting Ideas
Our composite decking looks great in any setting, but you can really make your outdoor spaces shine with our decking
Products in Stock
Lowest Prices
Express Delivery
10-Year Warranty
Bank Holiday Weekend Sale. Up To 15% Off.

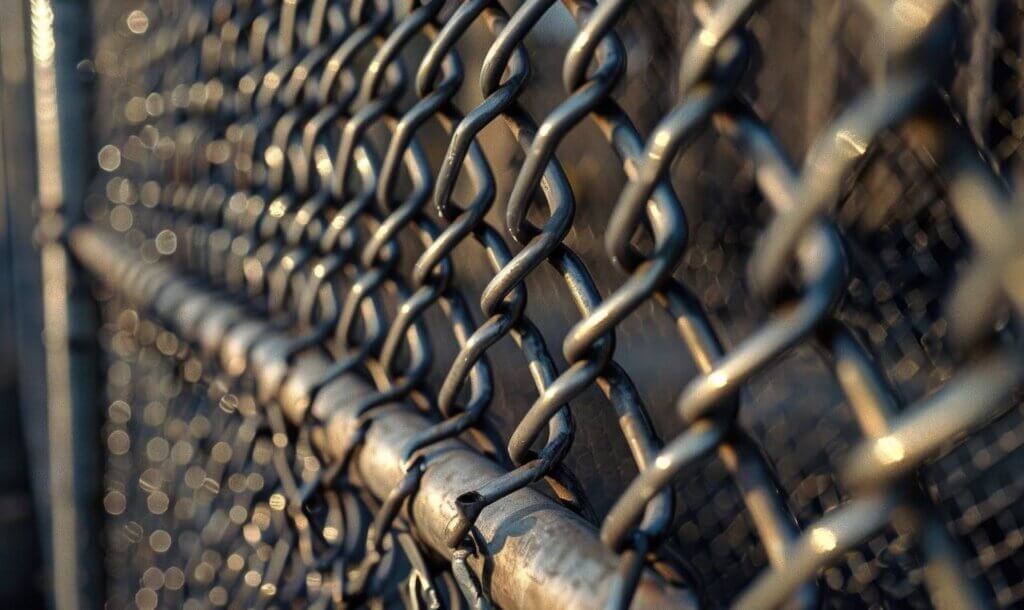
If you’re looking to add a layer of security, contain pets, or simply define your property lines, installing a chain link fence can be a practical and cost-effective solution. While the process may seem daunting at first, with the right tools, materials, and a bit of know-how, you can successfully tackle this project yourself. In this guide, we’ll walk you through the steps to install a chain link fence, from planning to the final touches.
First of all, let’s make sure you have all the necessary tools and materials on hand.
With your tools and materials ready, it’s time to start planning your fence layout.
The first step in any successful fence installation is accurate measurement. Measure the total length of your planned fence line, taking into account any slopes, curves, or corners. It’s a good idea to measure twice to ensure accuracy and avoid costly mistakes later on.
Once you have your measurements, use stakes and string to mark out the exact location of your fence line. This will serve as a visual guide during the installation process and help you maintain a straight line.
Before breaking ground, don’t forget to check with your local council or planning authority for any regulations, permits, or utility line locations that may impact your fence installation. It’s better to address these issues upfront than to face fines or delays later on.
With planning and preparation complete, it’s time to start installing your chain link fence.
Using your post hole digger or power auger, dig holes for your fence posts at regular intervals along the marked fence line. As a general rule, holes should be about one-third the length of the post and spaced 6 to 8 feet apart, depending on the height and weight of your fence.
Before setting the posts, add a layer of gravel to the bottom of each hole for drainage. Then, place the posts into the holes, ensuring they are plumb (vertically straight) using your level. Fill the holes with concrete, tamping it down to remove any air pockets, and allow it to cure according to the manufacturer’s instructions.
With your posts set and cured, it’s time to install the top rail. Cut the rail to size and attach it to the posts using rail end caps and brace bands. The top rail provides stability and a surface to attach the chain link fabric.
Unroll the chain link fabric along the length of the fence line, leaving a bit of excess on each end for adjustments. It’s important to handle the fabric carefully to avoid kinks or damage.
Using fence ties, attach the chain link fabric to the top rail and posts at regular intervals. Pull the fabric taut as you go to prevent sagging, and use tension wire along the bottom to maintain a straight line.
If your fence includes a gate, now is the time to install it. Measure and cut the gate frame to size, then attach the chain link fabric using the same method as the rest of the fence. Install the gate hardware, ensuring it is level and swings smoothly.

Before considering your fence complete, give it a thorough inspection for any signs of instability, such as wobbly posts or loose fabric. Make necessary adjustments to ensure a sturdy, secure installation.
Using your wire cutters, carefully trim any excess chain link fabric from the top and bottom of the fence. Be sure to wear your safety gloves to avoid snags or cuts.
Even with the best intentions, there are a few common pitfalls to watch out for when installing a chain link fence:
Inaccurate measurements can lead to ordering too much or too little material, resulting in wasted time and money. Always double-check your measurements before purchasing supplies.
Failing to dig post holes deep enough can compromise the stability of your fence, especially in areas with high winds or soft soil. Aim to bury about one-third of the post length for optimal support.
Installing a fence is a significant undertaking, and rushing through steps can lead to mistakes and subpar results. Take your time and focus on each step to ensure a quality installation.
While a chain-link fence can be a great addition to your outdoor space, it’s not the only option on the market! If you’re looking for a more low-maintenance option, composite fencing is an increasingly popular choice among homeowners; with its wood-like appearance and weather-resistant properties, composite is considered one of the strongest types of fence available in the UK.Whether you choose chain link, composite, or another fencing material, we’re here to help you every step of the way. Explore our best selling composite fencing options or reach out to our team of Dino experts for personalised guidance on your project.

Our sample pack contains a sample piece of each colour currently available. Order your free sample pack today to compare the colours and get a true feeling of the Dino Decking range!
Our composite decking looks great in any setting, but you can really make your outdoor spaces shine with our decking
If the idea of having rats under your decking makes you shiver, don’t worry. We’ll let you know the signs
Business hours
Monday: 09:00 – 17:30
Tuesday: 09:00 – 17:30
Wednesday: 09:00 – 17:30
Thursday: 09:00 – 17:30
Friday: 09:00 – 17:30
Saturday: Closed
Sunday: Closed
Contact us
01942 355968
support@dino.co.uk
Collection Address: Unit 1 Wetheral Close Hindley Ind Estate Wigan Greater Manchester North West WN2 4HS
Pages
Products
Testing
Copyright 2025 Dino Decking Ltd All Rights Reserved.
VAT Number: GB296097848.
Company Number: 10837233.