How Much is Composite Fencing? What You Need to Know
Composite fencing is gaining popularity among homeowners thanks to its longevity, durability, and minimal maintenance requirements. However, does this range
Read More
Products in Stock
Lowest Prices
Express Delivery
10-Year Warranty
Early September Sale. Up To 15% Off.
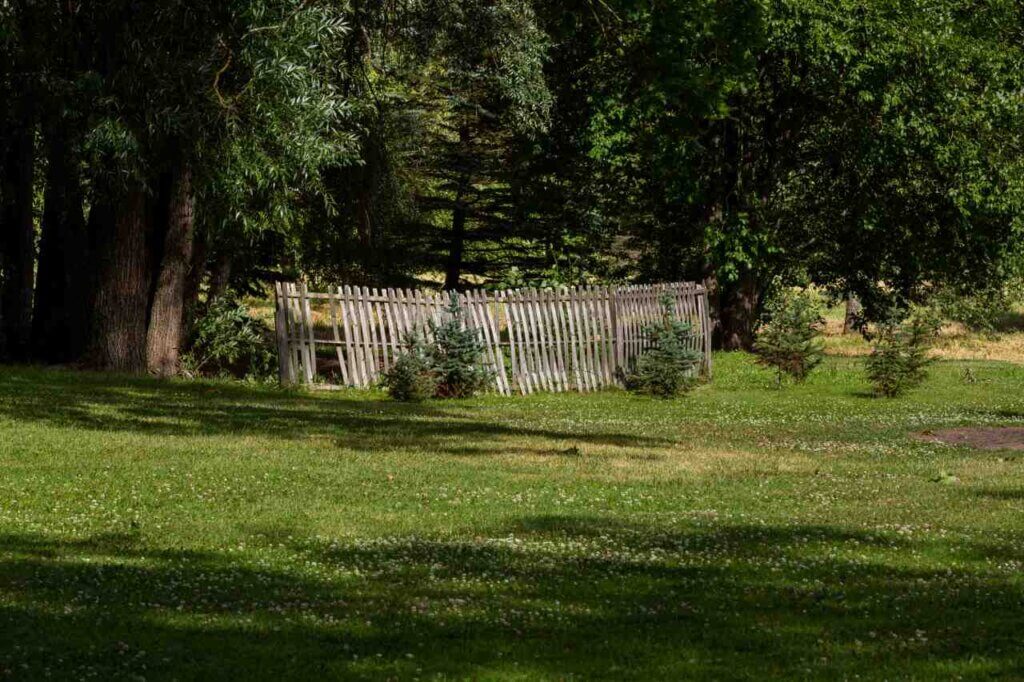
Let’s be honest, a leaning fence isn’t the prettiest sight. It can make your entire garden feel a bit wonky, not to mention potentially compromise your privacy and security. But fear not, because rectifying this issue is often much simpler than it might seem. Whether it’s due to weather damage, rotting posts, or simply the passing of time, there are effective DIY solutions to bring your fence back to its upright glory. So, roll up your sleeves, grab your tools, and let’s get started on straightening up that fence!
A sturdy fence is an integral part of your garden’s aesthetic appeal and overall functionality, while a leaning fence can be a safety hazard, detract from your property’s value, and leave your garden feeling exposed. Generally, regularly inspecting and maintaining your fence is key to preventing leaning issues in the first place, but these things can still happen!
Before you jump into the repair process, take a moment to assess the situation and understand the cause of the leaning, as this will help you choose the most appropriate solution and ensure the fix is both effective and long-lasting.
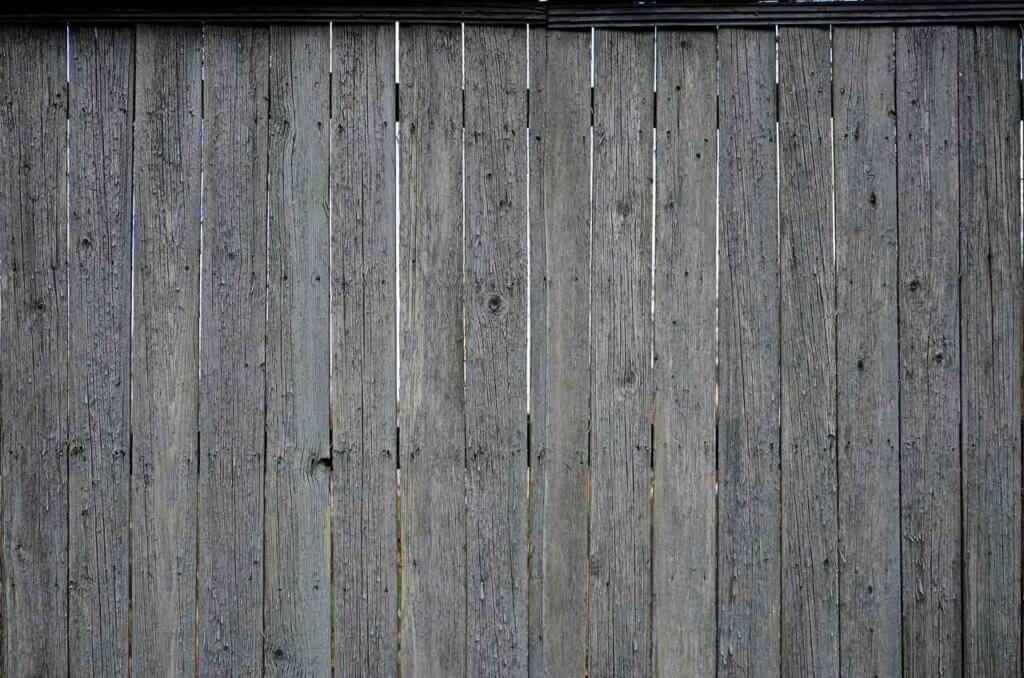
Start with a simple visual inspection of your fence. Is it leaning in one particular direction? Are multiple posts affected, or is it just a single post that’s causing the issue? Identify any visible signs of damage, such as rot, cracks, or loose fasteners.
Check the soil around the base of the leaning post. Is it loose or eroded? Has the soil shifted due to heavy rainfall or poor drainage? A weak foundation can contribute to fence instability, so it’s important to address any soil issues.
Gather your tools and materials before you start. Having everything you need on hand will help streamline the repair process and prevent unnecessary delays.
Pro Tip: If your fence is beyond repair or you’re considering an upgrade, composite fencing is an excellent choice. A durable composite fence is resistant to rot and weathering, and requires minimal maintenance, so feel free to explore our collection of composite fence panels for a beautiful and long-lasting fencing solution. You can even try out a free sample by ordering one over on our website!
Now, let’s roll up our sleeves and get to work. Here’s a simple, step-by-step guide to help you straighten that leaning fence.
Carefully dig around the base of the leaning post, creating a hole that’s deep enough to expose the concrete base or footing. Be sure to clear away any loose soil or debris.
If the post is significantly leaning, you might need to add temporary support to prevent it from falling over while you make repairs. Use wood stakes or metal supports to prop up the post and keep it stable.
Use a spirit level to guide you as you straighten the post, and gently push or pull the post back into an upright position, ensuring it’s plumb (aka perfectly vertical).
Once the post is aligned, you’ll need to secure it in its new position – you can do this by driving wood stakes or metal supports into the ground on either side of the post, then attaching them to the post with screws or nails.
If the concrete base or footing is damaged or eroded, you’ll need to replace it. Prepare a new batch of postcrete or quick-setting concrete mix according to the instructions, then pour it into the hole around the post. Alternatively, you can use gravel to fill the hole and provide support.
Let the concrete or gravel set completely before removing any temporary supports or putting any stress on the fence. Follow the manufacturer’s instructions for the recommended curing time.
Once the concrete or gravel has set, carefully remove any temporary supports and inspect the repaired post. Gently push on the fence to ensure it’s stable and secure.
As we mentioned above, you’ll want to regularly inspect your fence for signs of damage or wear, and address any issues promptly. This includes checking for loose boards, rot, or damage to the posts and foundations.
Finally, when building or replacing a fence, choose durable materials that can withstand the elements and resist rot and decay. At Dino Decking, we’ll always recommend opting for composite fencing – with its super longevity and low-maintenance requirements, it’s your best protection against pesky, leaning fences and wood that’s prone to mould.
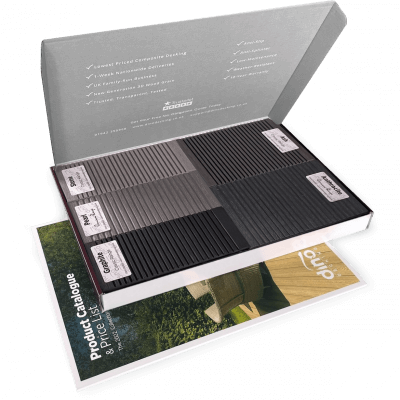
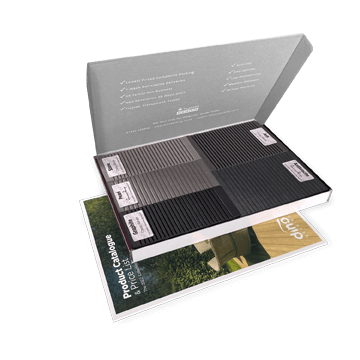
Our sample pack contains a sample piece of each colour currently available. Order your free sample pack today to compare the colours and get a true feeling of the Dino Decking range!
Business hours
Monday: 09:00 – 17:30
Tuesday: 09:00 – 17:30
Wednesday: 09:00 – 17:30
Thursday: 09:00 – 17:30
Friday: 09:00 – 17:30
Saturday: Closed
Sunday: Closed
Contact us
01942 355968
support@dinodecking.co.uk
Collection Address: Unit 1 Wetheral Close Hindley Ind Estate Wigan Greater Manchester North West WN2 4HS
Pages
Products
Testing
Copyright 2024 Dino Decking Ltd All Rights Reserved.
VAT Number: GB296097848.
Company Number: 10837233.