5 Composite Decking Lighting Ideas
Our composite decking looks great in any setting, but you can really make your outdoor spaces shine with our decking
Products in Stock
Lowest Prices
Express Delivery
10-Year Warranty
Early April Sale. Up To 15% Off.

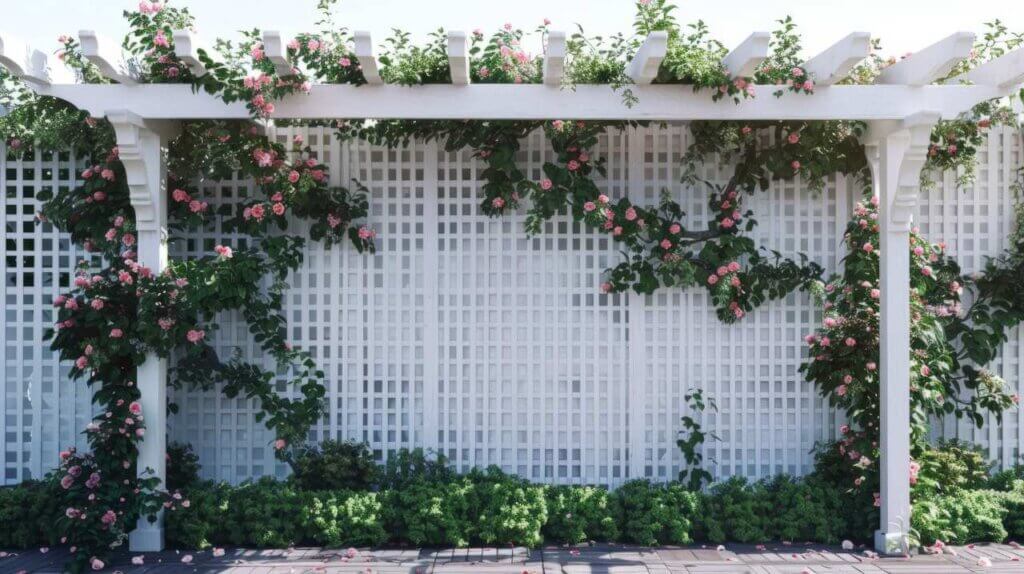
A trellis is a simple yet effective way to add structure, beauty, and functionality to your garden. Whether you’re looking to support climbing plants or create a stylish focal point, building your own trellis can be both rewarding and cost-effective. With this step-by-step guide, you’ll learn how to craft a trellis that fits perfectly into your outdoor space.
Before you get started, it’s important to gather all the necessary tools and materials. Preparation is key to making the process as smooth as possible.
Here’s what you’ll need:
The material you choose can make a big difference in durability and appearance. For a natural, rustic look, wood is a classic choice, but it requires regular maintenance. Alternatively, composite materials are low-maintenance and weather-resistant, making them ideal for long-lasting projects. For added style and practicality, consider composite garden screens for privacy, which work beautifully as trellises while providing privacy.
The type of trellis you choose will depend on your garden’s layout and the plants you want to grow. Here are a few popular options:
This straightforward design consists of a flat panel that supports climbing plants like roses, ivy, or beans. It’s perfect for smaller spaces or as an accent along walls or fences.
An A-frame trellis is both functional and decorative. Its sturdy design makes it ideal for heavier plants like cucumbers or gourds, while its triangular shape adds depth to your garden.
For those with limited space, a leaning trellis can be positioned against an existing wall or fence. It’s great for lighter climbing plants and works well in modern garden designs.
Building a trellis is easier than you might think. Follow these steps to create a beautiful garden feature in no time.
Decide on the size and shape of your trellis. Use a measuring tape to mark the dimensions, keeping in mind the type of plants it will support. Sketch out your design to ensure all materials are cut and assembled accurately.
Using your saw, cut the wooden or composite stakes to your desired length. Sand down any rough edges to avoid splinters and ensure a polished finish.
Start by creating the outer frame of your trellis. Lay the stakes flat on the ground in your chosen shape (rectangular or triangular works best). Drill pilot holes and secure the corners with screws or nails.
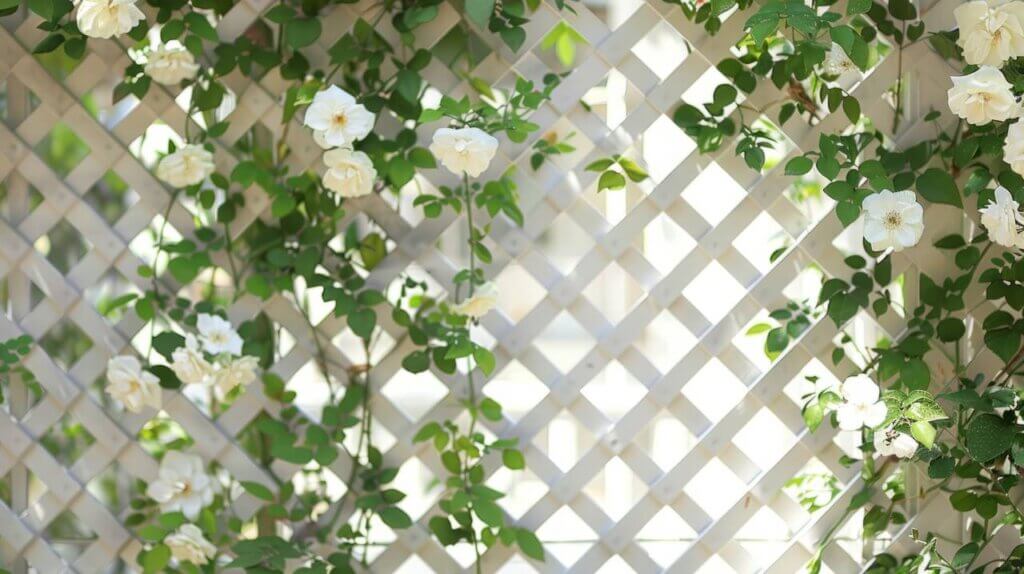
Next, add the vertical slats or rods. Space them evenly across the frame, ensuring they’re securely attached. If you’re using a grid pattern, add horizontal slats as well, creating a lattice effect.
Position your trellis in its designated spot. If it’s freestanding, dig shallow holes to anchor the bottom stakes and backfill with soil or gravel for stability. For wall-mounted trellises, use brackets or hooks to secure them in place.
If you’re growing heavier plants, consider adding extra supports like wires or hooks to help distribute the weight evenly.

A well-built trellis should not only look great but also stand the test of time.
Place your trellis in an area with sufficient sunlight and good airflow. This ensures your plants thrive while reducing the risk of mould or mildew.
Make sure your trellis is firmly secured, especially if it will support heavy plants. Wobbly structures can damage your garden and pose safety risks.
Regularly inspect your trellis for signs of wear. Sand and repaint wooden trellises as needed to keep them weather-resistant.
Once your trellis is built, it’s time to make it your own with some creative touches.
Choose plants that suit your trellis type and design. From fragrant jasmine to colourful clematis, climbing plants add a dynamic element to your garden.
A coat of paint or stain can elevate your trellis while protecting it from the elements. Neutral tones blend well with most gardens, while bold colours create a striking focal point.
Hang small pots, fairy lights, or wind chimes from your trellis to add an extra layer of charm and personality.
Even with the best intentions, a few mistakes can hinder your trellis-building project.
Opt for sturdy, weather-resistant materials to ensure your trellis holds up against the elements and plant growth.
Spacing the supports too far apart can cause the structure to sag or fail under pressure. Measure carefully to keep everything stable.
A poorly anchored trellis can topple over in strong winds. Take the time to secure it firmly in place.
Building your own trellis is a fantastic way to enhance your garden while supporting your plants. With a little planning and effort, you can create a structure that’s both practical and beautiful.
Whether you’re a seasoned gardener or just starting out, a trellis is a simple yet impactful addition to any outdoor space. And with this guide (you’re totally welcome, by the way) you’re all set to bring your vision to life!

Our sample pack contains a sample piece of each colour currently available. Order your free sample pack today to compare the colours and get a true feeling of the Dino Decking range!
Our composite decking looks great in any setting, but you can really make your outdoor spaces shine with our decking
If the idea of having rats under your decking makes you shiver, don’t worry. We’ll let you know the signs
Business hours
Monday: 09:00 – 17:30
Tuesday: 09:00 – 17:30
Wednesday: 09:00 – 17:30
Thursday: 09:00 – 17:30
Friday: 09:00 – 17:30
Saturday: Closed
Sunday: Closed
Contact us
01942 355968
support@dino.co.uk
Collection Address: Unit 1 Wetheral Close Hindley Ind Estate Wigan Greater Manchester North West WN2 4HS
Pages
Products
Testing
Copyright 2025 Dino Decking Ltd All Rights Reserved.
VAT Number: GB296097848.
Company Number: 10837233.