5 Composite Decking Lighting Ideas
Our composite decking looks great in any setting, but you can really make your outdoor spaces shine with our decking
Products in Stock
Lowest Prices
Express Delivery
10-Year Warranty
Early April Sale. Up To 15% Off.
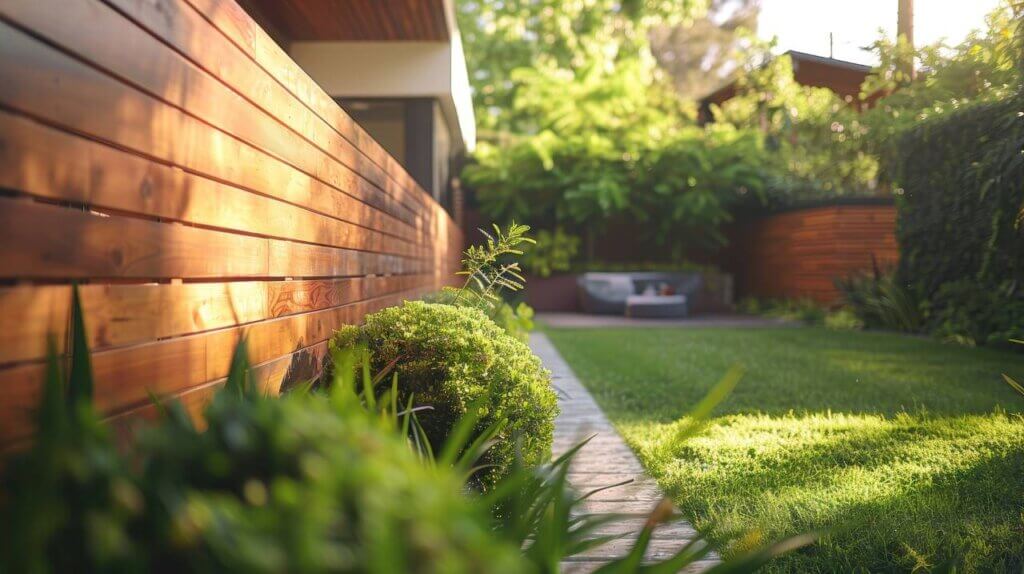
Ever found yourself waving awkwardly at the neighbours while trying to enjoy a quiet cuppa in your garden? If so, you might be considering building a privacy fence. It’s a fantastic way to create your own little oasis, free from prying eyes and unexpected social interactions. But before you dash off to the DIY shop, let’s walk through the process together. Building a privacy fence isn’t rocket science, but it does require careful planning and execution. So, pop the kettle on, and let’s get stuck in!
Before you even think about picking up a shovel, there’s some groundwork to be done (pun intended).
What exactly are you looking for in a privacy fence? Height, style, and materials all play a role in creating the perfect barrier. Are you aiming to block out nosy neighbours, or just create a cosy atmosphere? Your needs will guide your decisions moving forward.
Nothing puts a damper on a DIY project quite like a visit from the council. Before you start, check your local regulations regarding fence height and placement. Some areas have strict rules, particularly for front gardens or properties near roads.
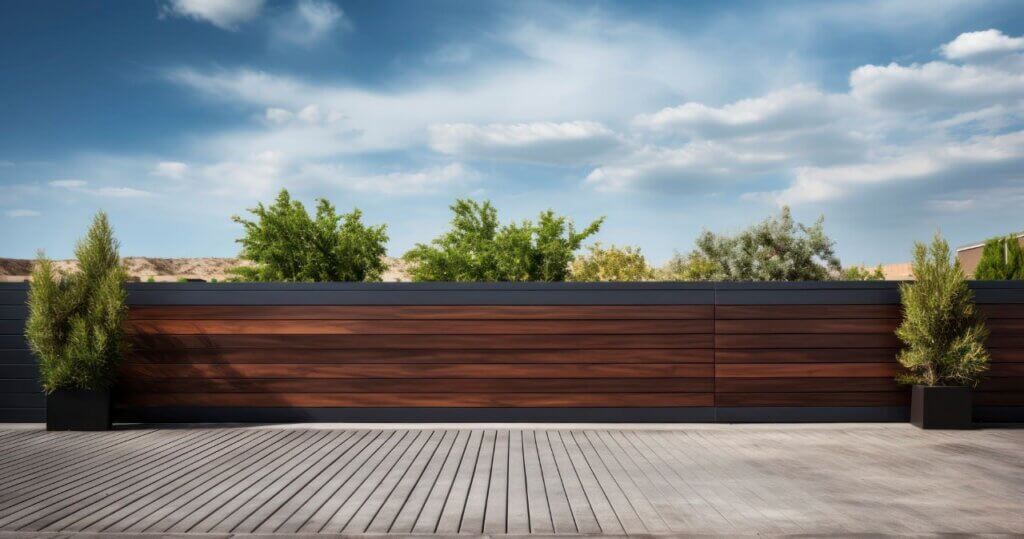
This is where things get exciting. From traditional wood to modern composite materials, you’ve got options. If you’re after something low-maintenance and long-lasting, you might want to shop our quality composite fencing in UK. It’s durable, looks great, and won’t have you out there with a paintbrush every summer. Plus, you can even order a sample first from our website to make sure you’re happy with it.
Right, now we’re getting to the nitty-gritty. Proper preparation will save you headaches down the line.
Time to channel your inner surveyor. Measure your property line carefully and mark where your fence will go. Remember, measure twice, dig once! If you’re unsure about how much fencing you need, you can learn how much material to order with our handy guide.
You’ll need a few tools for this job. At a minimum, you’ll want:
This is the foundation of your fence. Get this right, and you’re halfway there.
Using your string line, mark where each post will go. Typically, posts should be about 6-8 feet apart, but this can vary based on your chosen materials.
Time to break a sweat! Dig holes about a third of the post’s height plus an extra 6 inches for gravel. So, for a 6-foot fence, you’re looking at holes about 2.5 feet deep.
Pour about 6 inches of gravel into each hole. This helps with drainage and can prevent your posts from rotting.
Place your posts in the holes. Use a spirit level to ensure they’re perfectly vertical. Have a friend hold them in place if you can (bribes of tea and biscuits usually work).
Mix your concrete according to the instructions and pour it around the posts. Leave it to set for at least 24 hours.
Use temporary braces to hold posts in place while the concrete sets. Check for plumb (vertical alignment) in two directions using your spirit level.
With your posts set, it’s time to build up your fence.
Secure horizontal rails to your posts. These will support your fence panels or individual boards.
If you’re using pre-made panels, simply position them between the posts and secure them to the rails.
For board-on-board fences, start at one end and work your way along, ensuring each board is level.
Use spacers between boards to maintain consistent gaps. A string line at the top of your fence can help keep everything aligned.
You’re on the home stretch now!
If you’re including a gate, now’s the time to hang it. Don’t forget to level it carefully – a wonky gate is the bane of many a gardener’s life.
If you’ve opted for wood, apply a preservative treatment to protect it from the elements. For composite fencing, you can skip this step – another point in its favour!
Walk the length of your fence, checking for any loose boards or wobbly posts. Make any final adjustments as needed.
And there you have it – your very own privacy fence! From planning and preparation to the final nail, you’ve created something that will enhance your garden for years to come. Whether you’ve opted for traditional wood or modern composite materials, your new fence will provide the privacy and security you’ve been craving.
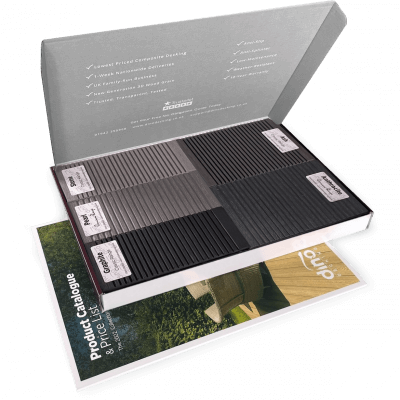
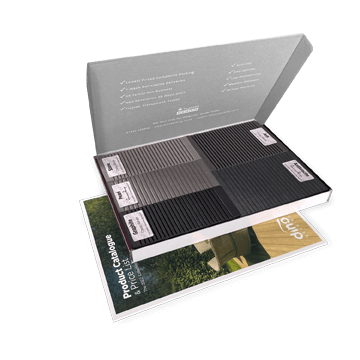
Our sample pack contains a sample piece of each colour currently available. Order your free sample pack today to compare the colours and get a true feeling of the Dino Decking range!
Our composite decking looks great in any setting, but you can really make your outdoor spaces shine with our decking
If the idea of having rats under your decking makes you shiver, don’t worry. We’ll let you know the signs
Business hours
Monday: 09:00 – 17:30
Tuesday: 09:00 – 17:30
Wednesday: 09:00 – 17:30
Thursday: 09:00 – 17:30
Friday: 09:00 – 17:30
Saturday: Closed
Sunday: Closed
Contact us
01942 355968
support@dino.co.uk
Collection Address: Unit 1 Wetheral Close Hindley Ind Estate Wigan Greater Manchester North West WN2 4HS
Pages
Products
Testing
Copyright 2025 Dino Decking Ltd All Rights Reserved.
VAT Number: GB296097848.
Company Number: 10837233.