5 Composite Decking Lighting Ideas
Our composite decking looks great in any setting, but you can really make your outdoor spaces shine with our decking
Products in Stock
Lowest Prices
Express Delivery
10-Year Warranty
Early April Sale. Up To 15% Off.
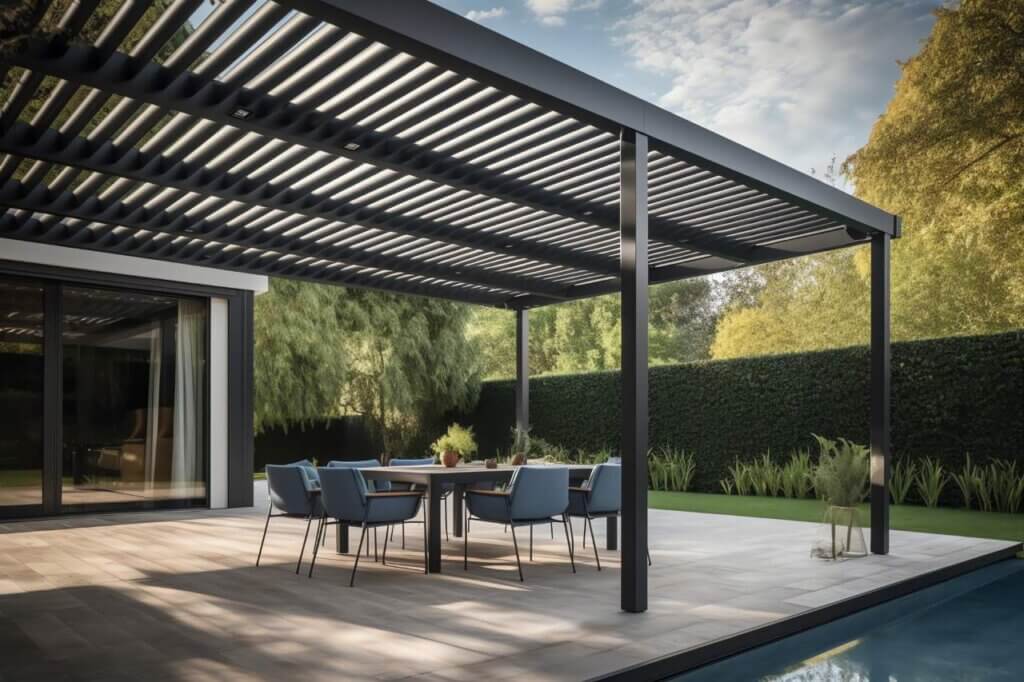
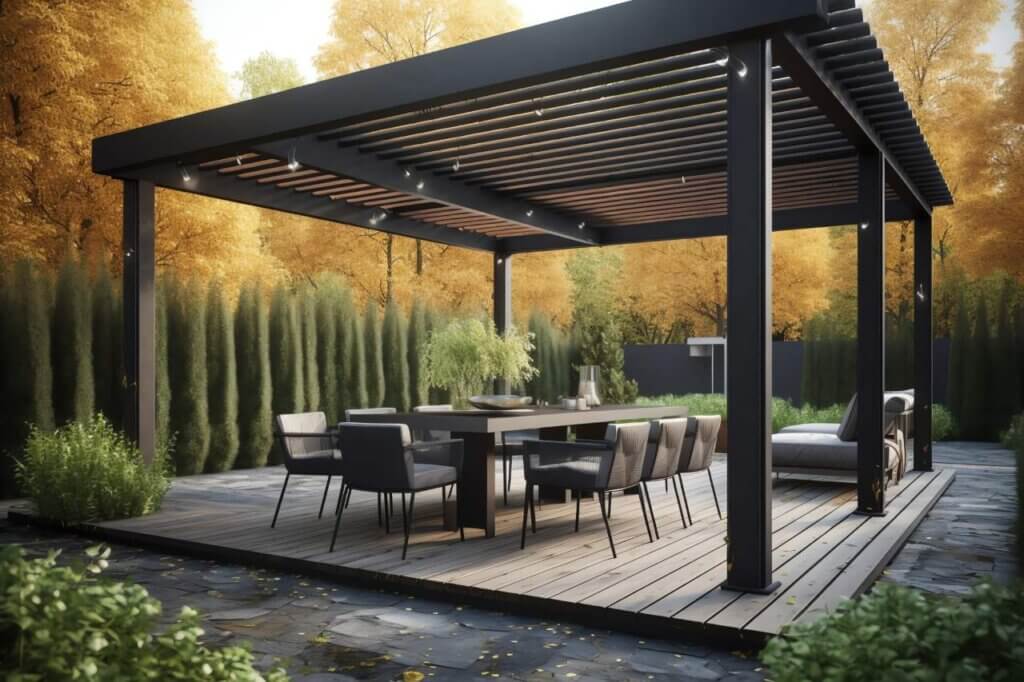
Fancy giving your deck a bit of character? Adding a pergola might be just the ticket. Not only does it create a lovely shaded spot to relax in, but it also adds a dash of style to your outdoor space. While it might look like a complex weekend project, with some basic DIY skills and the right tools, you’ll have it up in no time.
First things first – can your deck actually handle a pergola? Most standard decks aren’t automatically built to support the extra weight and wind load of a tall structure. Take a good look at your deck’s foundation, joists and beams. If you’re not sure, getting a quick opinion from a structural engineer could save you headaches down the line.
Don’t forget to check what the council says about it, too. Depending on where you live, you might need planning permission, especially if your pergola is going to be on the larger side. There are often rules about how tall structures can be and how close they can sit to your property boundaries.
Think about what you want from your pergola. Are you after maximum shade for those scorching summer days? Or just a framework for some climbing plants? Your plans will affect everything else.
Wood pergolas give that warm, classic look that works nicely with the perfect decking for your next project. If you’re after something more modern, metal pergolas need less upkeep and offer cleaner lines. Not sure if a pergola is what you need? Understanding the difference between pergola and trellis might help you decide.
For a basic wooden pergola, you’ll typically need:
Mark out where your posts will go. Get this bit right – measure twice, cut once and all that. You want your markings to be square (at right angles to each other).
If your deck has decorative boarding around the edge, you might need to remove bits of it to attach the posts properly. This varies with different decks, but making sure the posts connect directly to the frame underneath is essential.
Getting the posts right is the make-or-break part of building a pergola. You’ve got a few options:
Whichever way you go, check your posts are dead vertical with a spirit level. Even a tiny tilt will look much worse at the top of your pergola.
With your posts sorted, it’s time to add the main beams. These chunky horizontal pieces connect the tops of your posts and hold everything else up.
Cut your beams to length, including any decorative end cuts you fancy. A mate holding them in place while you bolt them to the posts is handy here.
Next come the rafters, running the other way across the beams. Space them evenly – get your tape measure out and mark where each one goes. You can attach rafters with joist hangers or by cutting notches so they sit on top of the beams.
If you want more shade, add another layer of slats running across the rafters. They’re not essential for the structure but look good and keep more sun off.
Once the basic frame is up, sand down any rough bits and slap on some decent waterproof sealant. A few decorative touches like post caps or some outdoor lights can really finish things off nicely.
If you want more sun protection, you could add some outdoor fabric or a retractable canopy. These can make your pergola much more useful during hot weather.
Your deck was built to hold a certain amount of weight. A pergola adds quite a bit more, and that’s before you hang plants, lights or swing seats from it. When planning, always play it safe and beef up your deck structure if needed.
Wind can really punish a pergola. It essentially acts like a sail, catching the wind and pulling on the bits where it’s attached. Using proper metal brackets rather than just a few screws is absolutely vital for keeping it safe and sound.
Even spacing not only looks better but spreads the weight more effectively. Take your time measuring before you cut or drill anything. Similarly, don’t cut corners on how bits connect to each other – use proper outdoor-rated hardware designed for structures that need to stay up.
A pergola can transform your deck from a flat platform into a proper outdoor room. With some careful planning and decent materials, your DIY pergola will stand strong for years while giving you a lovely spot to relax.
If you’re new to DIY or worried about the structural bits, there’s no shame in getting a pro in for those parts. The important thing is ending up with something that’s safe, looks good, and makes you want to be outside more often.
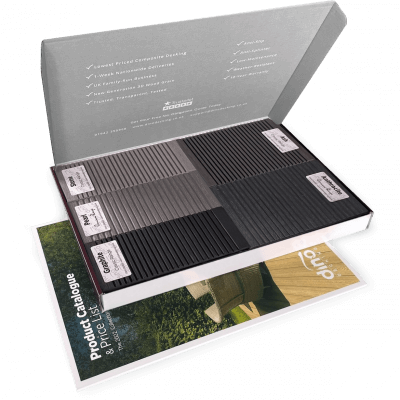
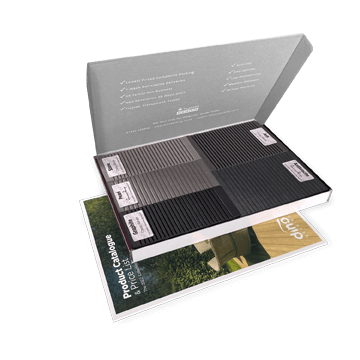
Our sample pack contains a sample piece of each colour currently available. Order your free sample pack today to compare the colours and get a true feeling of the Dino Decking range!
Our composite decking looks great in any setting, but you can really make your outdoor spaces shine with our decking
If the idea of having rats under your decking makes you shiver, don’t worry. We’ll let you know the signs
Business hours
Monday: 09:00 – 17:30
Tuesday: 09:00 – 17:30
Wednesday: 09:00 – 17:30
Thursday: 09:00 – 17:30
Friday: 09:00 – 17:30
Saturday: Closed
Sunday: Closed
Contact us
01942 355968
support@dino.co.uk
Collection Address: Unit 1 Wetheral Close Hindley Ind Estate Wigan Greater Manchester North West WN2 4HS
Pages
Products
Testing
Copyright 2025 Dino Decking Ltd All Rights Reserved.
VAT Number: GB296097848.
Company Number: 10837233.