5 Composite Decking Lighting Ideas
Our composite decking looks great in any setting, but you can really make your outdoor spaces shine with our decking
Products in Stock
Lowest Prices
Express Delivery
10-Year Warranty
Early April Sale. Up To 15% Off.
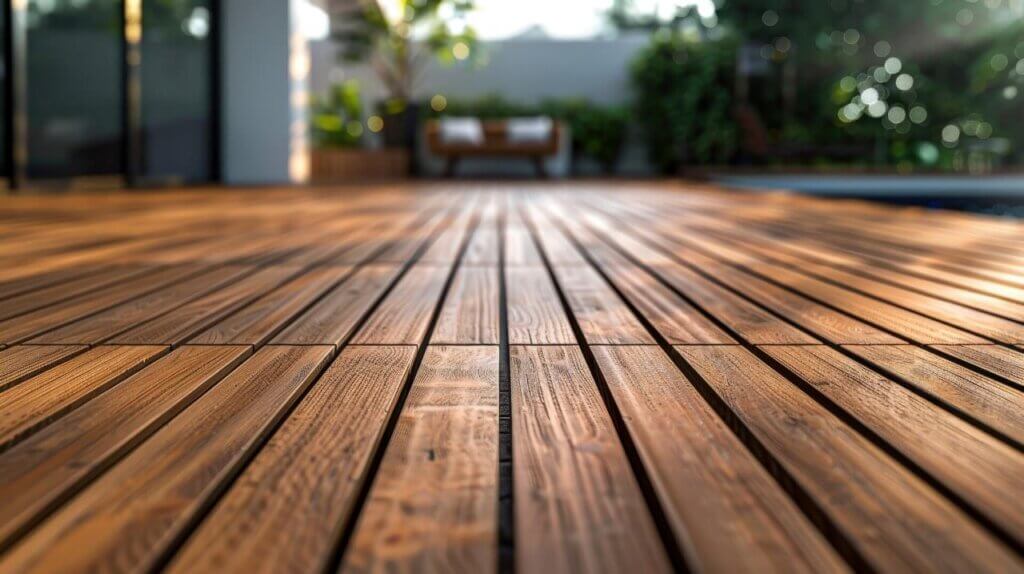
Imagine this – you’ve got a gorgeous deck, perfectly placed to catch the afternoon sun. You’ve spent countless hours staining and finishing it to perfection. But without the right protection, the harsh British weather can quickly undo all your hard work. That’s where deck sealer comes in. It’s like a raincoat for your deck, shielding it from the elements and ensuring it stays looking its best for years to come.
If you’re a DIY enthusiast ready to take on this task, let’s explore the process of applying deck sealer, providing you with expert tips and best practices to ensure your deck remains a source of pride and enjoyment.
Put simply, a deck sealer is a clear protective coating that forms a barrier on the surface of your deck. It helps repel water, resist UV damage, and prevent stains from spills and general wear and tear. Think of it as an invisible shield, keeping your deck looking fresh and vibrant even after enduring the harshest weather conditions.
That being said, if you’re using our resistant, best selling composite decking in the UK, you don’t need sealant – it’s already resistant enough on its own. Just saying!
Before we roll up our sleeves, let’s gather our tools and materials. You’ll need:
The key to a successful sealing job is proper preparation, so let’s make sure your deck is clean, dry, and ready to absorb that protective coating.
First, clear off all the furniture, planters, and anything else cluttering up your deck. Then, give it a good sweep to get rid of any loose debris. Next, apply a deck cleaner and brightener according to the manufacturer’s instructions. If your deck is looking particularly grimy, you might need to bring out the big guns – a pressure washer.
Once the deck is clean, take a closer look. Are there any loose or damaged boards that need attention? Any nails or screws sticking out? Now’s the time to fix those up, ensuring a smooth and safe surface.
If you’ve got an older deck, or if there’s any peeling stain or sealant, you might want to give it a light sanding; this helps the new sealer adhere properly and gives you a more even finish.
Not all sealers are created equal, so choose one that’s designed for your type of wood and the level of protection you need. For the best results, look for a high-quality, water-based sealer that offers UV protection and mildew resistance.
Now, let’s get down to business!
Begin by applying the sealer to the railings, posts, and any vertical surfaces. These areas are more prone to water damage, so it’s important to give them a good coat. Use a brush to get into all those nooks and crannies.
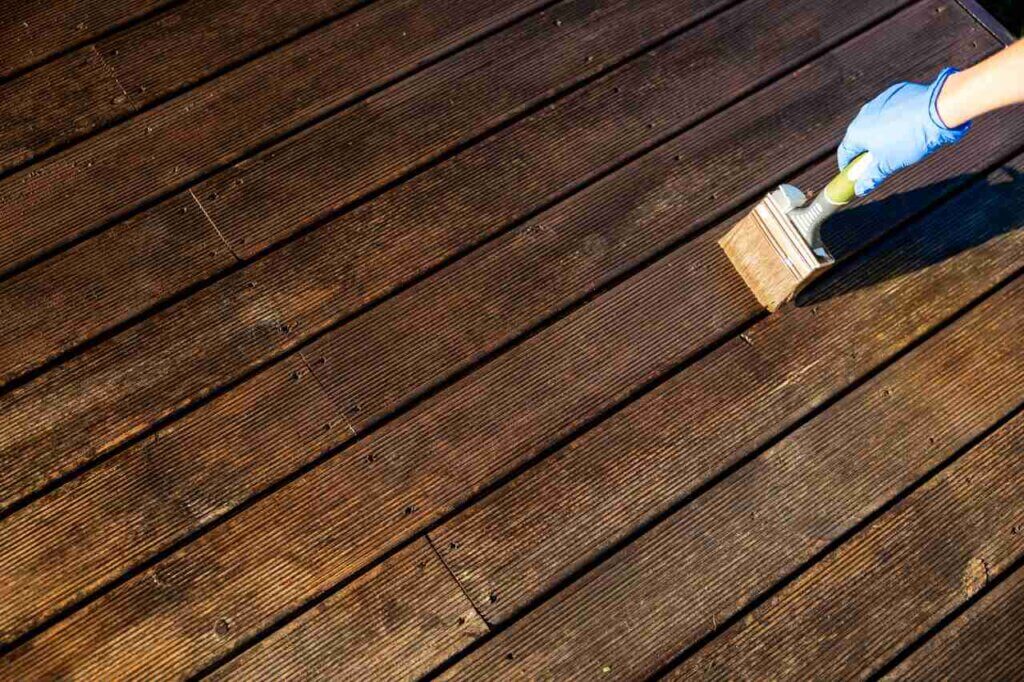
Once the railings are done, it’s time to tackle the main deck surface. You can use a brush, roller, or sprayer, depending on your preference and the size of your deck. Apply the sealer evenly, working with the grain of the wood, and avoid over-application. Remember, multiple thin coats are better than one thick one.
Clean your tools immediately after use, following the manufacturer’s instructions for your chosen sealer.
Allow the sealer to dry completely before replacing any furniture or walking on the deck. The drying time will vary depending on the type of sealer and the weather, so be sure to check the label for specific instructions.
Even with the best intentions, it’s easy to make mistakes when sealing your deck. Here are a few common pitfalls to watch out for:
Skipping the cleaning and sanding steps can lead to uneven application and poor adhesion.
Applying too much sealer can result in a sticky, tacky finish that attracts dirt and debris.
The heat from direct sunlight can cause the sealer to dry too quickly, leading to an uneven finish.
Avoid applying sealer in extreme heat, humidity, or when rain is expected.
Don’t rush the process! Ensure each coat is completely dry before applying the next or replacing any furniture.
Sealing your deck is a worthwhile investment in its longevity and beauty, but remember, even with proper sealing, regular maintenance is key to a healthy deck. Keep an eye out for any signs of wear and tear, such as cracking or splintering, and address them promptly. And if you’re dealing with persistent issues, check out our guide on common problems with composite decking and how to fix them for valuable troubleshooting tips.

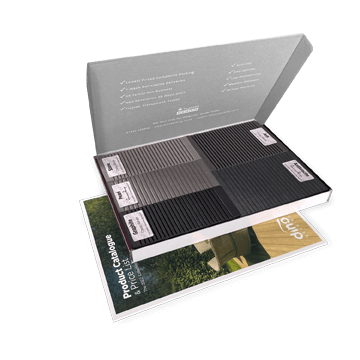
Our sample pack contains a sample piece of each colour currently available. Order your free sample pack today to compare the colours and get a true feeling of the Dino Decking range!
Our composite decking looks great in any setting, but you can really make your outdoor spaces shine with our decking
If the idea of having rats under your decking makes you shiver, don’t worry. We’ll let you know the signs
Business hours
Monday: 09:00 – 17:30
Tuesday: 09:00 – 17:30
Wednesday: 09:00 – 17:30
Thursday: 09:00 – 17:30
Friday: 09:00 – 17:30
Saturday: Closed
Sunday: Closed
Contact us
01942 355968
support@dino.co.uk
Collection Address: Unit 1 Wetheral Close Hindley Ind Estate Wigan Greater Manchester North West WN2 4HS
Pages
Products
Testing
Copyright 2025 Dino Decking Ltd All Rights Reserved.
VAT Number: GB296097848.
Company Number: 10837233.