5 Composite Decking Lighting Ideas
Our composite decking looks great in any setting, but you can really make your outdoor spaces shine with our decking
Products in Stock
Lowest Prices
Express Delivery
10-Year Warranty
Bank Holiday Weekend Sale. Up To 15% Off.
Let’s be honest, a little wear and tear on your deck is inevitable. After years of weathering the elements and countless BBQs, it’s only natural that your deck might start to show signs of age. But before you call in the professionals, consider taking on the repairs yourself. DIY deck repair not only saves you money but also gives you a sense of accomplishment and control over your outdoor space – so let’s dive into the world of deck repairs and equip you with the knowledge and confidence to tackle them head-on.
Taking the DIY route when it comes to deck repairs has several advantages:
However, it’s important to be realistic about your abilities and the extent of the damage. If the repairs are complex or extensive, or if you’re unsure about any aspect of the process, it’s best to consult a professional. Remember, safety always comes first.
Before you start any repairs, take a thorough look at your deck and identify all areas that need attention. Check for loose or damaged boards, signs of rot or decay, cracks, splinters, and any issues with the railings or stairs. The better you understand the scope of the work, the easier it will be to plan your approach and gather the necessary tools and materials.
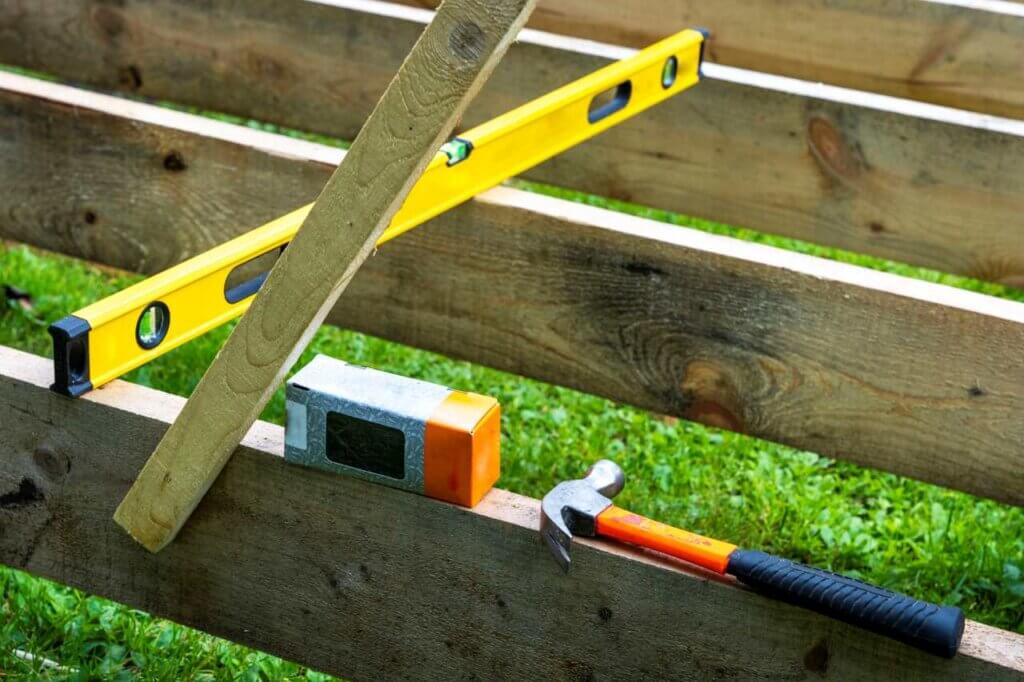
Having the right tools and materials on hand will make your repair project much smoother. Some essentials include:
And if you’re looking to upgrade your deck while making repairs, consider replacing damaged boards with composite decking. You can find a variety of composite decking on sale on our website; it’s low-cost, low-maintenance, and high quality.
Once you’ve assessed the damage and gathered your tools, it’s time to prepare your deck for repair – this involves cleaning the deck thoroughly to remove any dirt, debris, or mildew. You can use a deck cleaner or a simple solution of soap and water. If your deck is particularly dirty, a pressure washer can be helpful, but use it with caution to avoid damaging the wood.
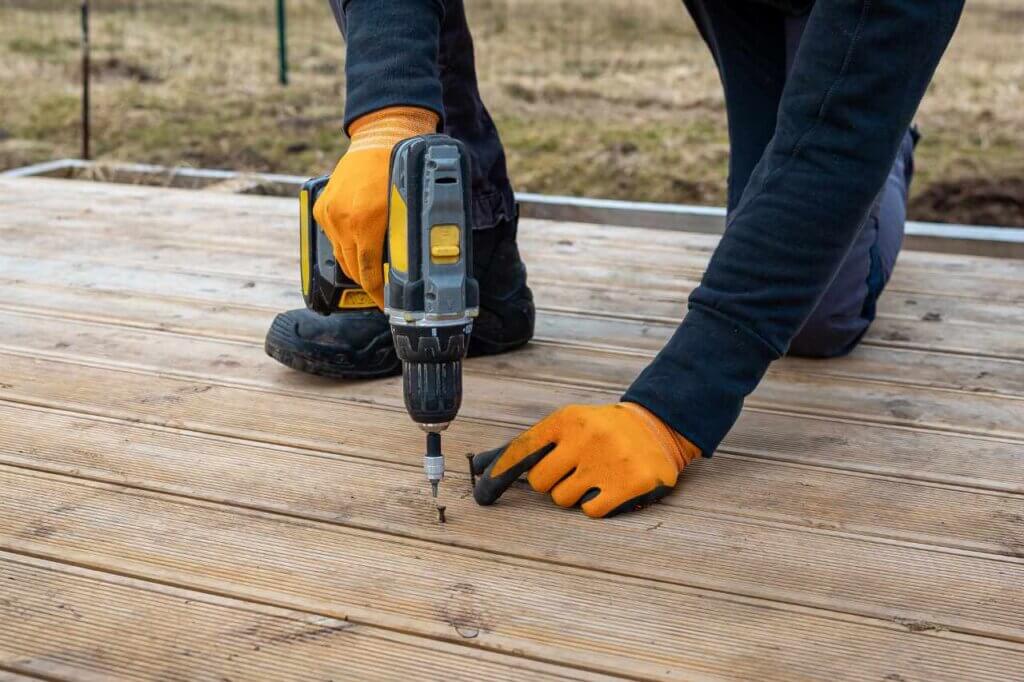
Now that your deck is clean and ready, let’s tackle those repairs. Here’s a step-by-step guide to fixing some common deck issues:
Once all repairs are complete, it’s essential to seal and stain your deck to protect it from the elements and enhance its appearance. Choose a high-quality sealer and stain that’s appropriate for your type of wood and climate, and apply the sealer and stain according to the manufacturer’s instructions, ensuring proper drying time between coats.
Here are some additional tips to help you achieve the best possible results:
Also Read: How to Sand a Deck Like a Pro
DIY deck repair can be a rewarding and cost-effective way to revitalise your outdoor space, and remember, even the best-maintained decks may eventually require repairs! And if f you encounter issues with your composite decking, don’t worry – our guide on fixing common issues with composite decking can provide valuable solutions.
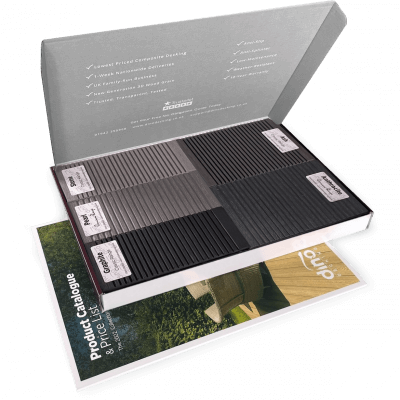
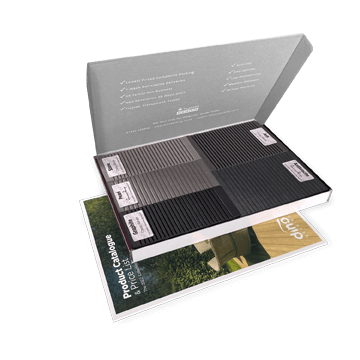
Our sample pack contains a sample piece of each colour currently available. Order your free sample pack today to compare the colours and get a true feeling of the Dino Decking range!
Our composite decking looks great in any setting, but you can really make your outdoor spaces shine with our decking
If the idea of having rats under your decking makes you shiver, don’t worry. We’ll let you know the signs
Business hours
Monday: 09:00 – 17:30
Tuesday: 09:00 – 17:30
Wednesday: 09:00 – 17:30
Thursday: 09:00 – 17:30
Friday: 09:00 – 17:30
Saturday: Closed
Sunday: Closed
Contact us
01942 355968
support@dino.co.uk
Collection Address: Unit 1 Wetheral Close Hindley Ind Estate Wigan Greater Manchester North West WN2 4HS
Pages
Products
Testing
Copyright 2025 Dino Decking Ltd All Rights Reserved.
VAT Number: GB296097848.
Company Number: 10837233.