5 Composite Decking Lighting Ideas
Our composite decking looks great in any setting, but you can really make your outdoor spaces shine with our decking
Products in Stock
Lowest Prices
Express Delivery
10-Year Warranty
Early April Sale. Up To 15% Off.
So, you’ve decided to elevate your outdoor space with a deck. A splendid idea! But before visions of summer gatherings and serene evenings take hold, it’s important to first lay a solid foundation: building a deck frame. While it might initially seem like a complex undertaking (and in some ways, it is!) a methodical approach and attention to detail will ensure a robust and enduring base for your outdoor haven. But not to worry – this comprehensive guide will walk you through each stage, from the initial planning to the final checks, ensuring you create a sturdy and reliable structure.
The location of your deck is more than just an aesthetic choice; it’s about maximising enjoyment and practicality. Consider the path of the sun throughout the day. Do you desire a sun-drenched spot for morning coffee or a shaded retreat for afternoon relaxation? Factor in prevailing winds for comfort. Think about accessibility from your home and garden. Are you looking for a seamless transition from your back door, or a secluded nook in the far corner? Remember to check for underground utilities before you dig. A bit of thoughtful planning will prevent costly mistakes down the line.
Having the right tools and materials is paramount for a successful build. You’ll need a robust spirit level, a reliable measuring tape, a circular saw for precise cuts, a powerful drill with various drill bits, and post hole diggers for creating those essential foundation holes. For materials, opt for pressure-treated timber, specifically designed for outdoor use. This will protect against rot, insects, and the elements.
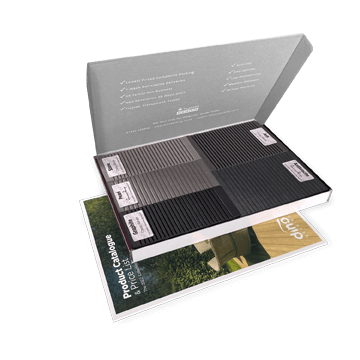
You’ll also need concrete for setting the posts, ensuring a stable foundation. Don’t forget the fixings: screws, bolts, and brackets. And if you’re already envisioning the final look, consider exploring the advantages of composite decking; it’s durable, low-maintenance, and looks great – and we have a tonne of high-quality composite decking available at Dino Decking, so much that we’ll even send you a free sample to try it out first yourself!
Accurate measurements are absolutely vital. Use sturdy pegs and durable string to mark out the precise dimensions of your deck. Double and triple-check your measurements. Consider using a builder’s square to ensure your corners are perfectly right-angled. Remember, precision is your best friend when it comes to framing.
Dig your post holes to the required depth, typically around 600mm to 900mm, depending on your local frost line and soil type. Pour a layer of gravel at the bottom of each hole for drainage. This will prevent water from pooling around the base of your posts. Place your posts in the holes and fill with concrete, ensuring they are perfectly vertical. Use a spirit level to check, and brace them securely until the concrete has fully set. This step is crucial for the stability of your entire deck.
Once the concrete has hardened, trim the posts to the correct height. This is where precision is key. A rotary laser level can be incredibly helpful for ensuring all posts are at the same level. Use a sharp saw to make clean cuts, and check the level again after trimming.
If your deck is attached to your house, you’ll need a ledger board. This is a critical step for structural integrity. Attach it securely to the house wall, ensuring it’s level and properly flashed to prevent water damage. Use appropriate fixings, such as lag screws, and ensure they are properly spaced.
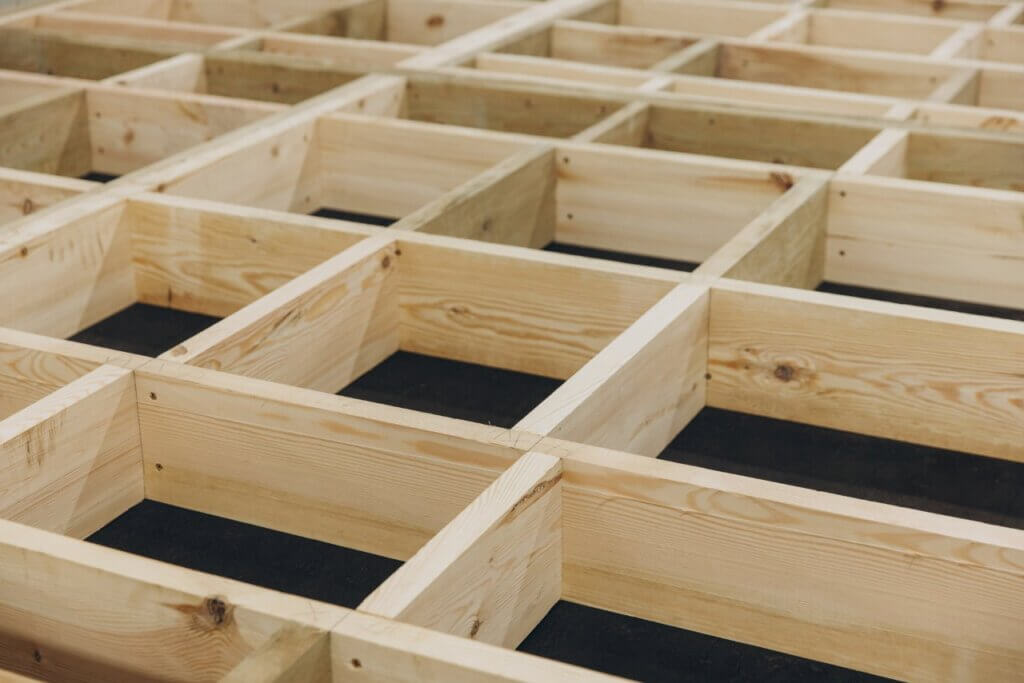
Now, it’s time to construct the outer frame, which consists of beams that connect to the posts and ledger board. Cut your timber to the correct lengths and securely fasten them together using appropriate fixings, such as bolts and brackets. Ensure the frame is level and square.
Joists provide the support for your decking boards. Space them evenly, typically at 400mm centres. For extra strength and stability, add blocking between the joists. Blocking also helps to prevent twisting and warping. If you need more detail on the proper spacing for deck frames, click through to our blog for our tips and tricks.
Before moving on, meticulously check that your frame is level and square. Use a large set square or measure diagonally to ensure the corners are perfectly 90 degrees. A slightly uneven frame will cause significant issues when laying your decking boards.

Don’t compromise on the quality of your materials. Use pressure-treated timber that’s specifically designed for outdoor use. This will protect against rot, insects, and the elements, ensuring your deck lasts for years to come.
One of the most common mistakes is not properly bracing the posts while the concrete sets. Another is using the wrong fixings. Always use screws and bolts designed for outdoor use. Double-check your measurements and ensure all connections are secure.
Consider adding extra support in areas that will bear heavy loads, such as around a hot tub or barbecue. Reinforcing these areas will prevent sagging and ensure your deck remains stable for years to come.
Always wear safety glasses, gloves, and ear protection when working with power tools. A dust mask is also advisable, especially when cutting treated timber.
Double-check all fixings and connections. A weak frame is a safety hazard. If you’re unsure about any aspect of the construction, consult a professional.
Familiarise yourself with local building codes and regulations. These codes exist to ensure safety and structural integrity. Adhering to them is essential.
Building a deck frame demands careful planning, precise measurements, and a bit of physical effort. However, the satisfaction of creating a solid foundation for your outdoor space is well worth the investment. Take your time, double-check your work, and soon you’ll be enjoying your new deck. Remember, a strong frame is the backbone of a great deck, ensuring years of enjoyment and outdoor memories.
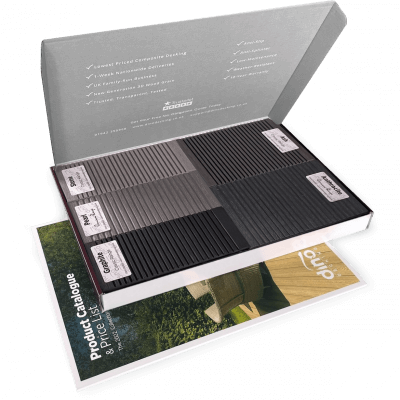
Our sample pack contains a sample piece of each colour currently available. Order your free sample pack today to compare the colours and get a true feeling of the Dino Decking range!
Our composite decking looks great in any setting, but you can really make your outdoor spaces shine with our decking
If the idea of having rats under your decking makes you shiver, don’t worry. We’ll let you know the signs
Business hours
Monday: 09:00 – 17:30
Tuesday: 09:00 – 17:30
Wednesday: 09:00 – 17:30
Thursday: 09:00 – 17:30
Friday: 09:00 – 17:30
Saturday: Closed
Sunday: Closed
Contact us
01942 355968
support@dino.co.uk
Collection Address: Unit 1 Wetheral Close Hindley Ind Estate Wigan Greater Manchester North West WN2 4HS
Pages
Products
Testing
Copyright 2025 Dino Decking Ltd All Rights Reserved.
VAT Number: GB296097848.
Company Number: 10837233.