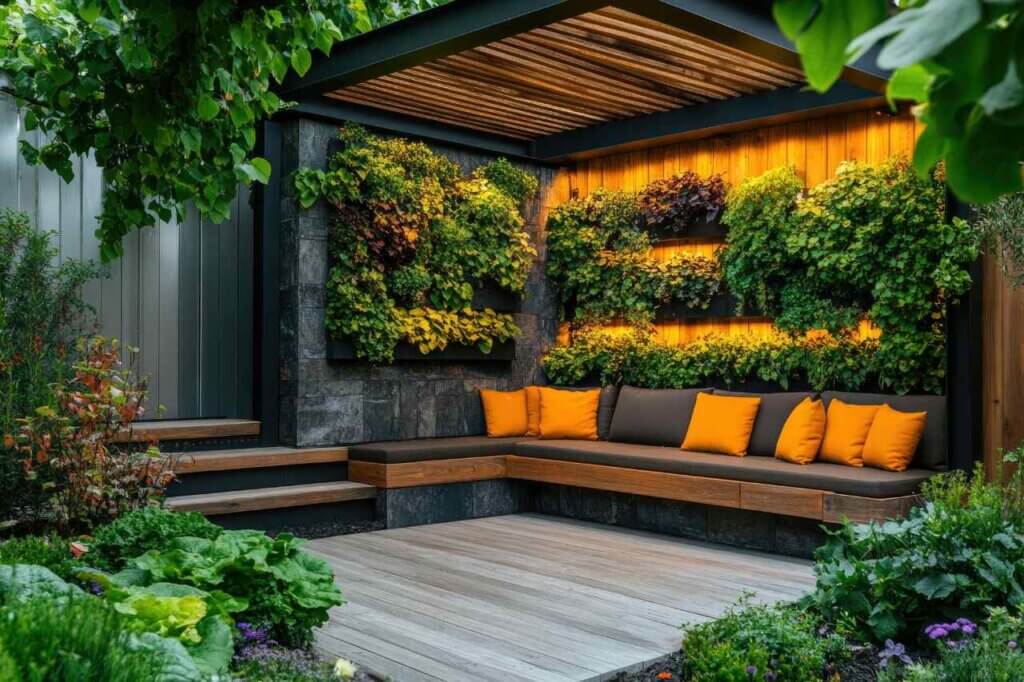
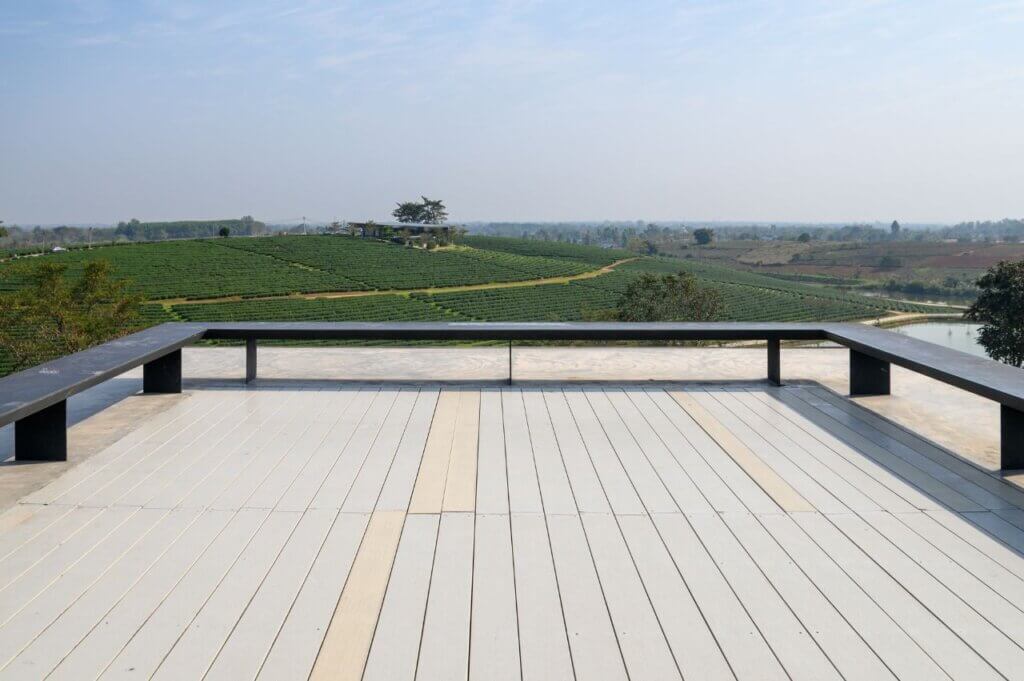
5 Composite Decking Lighting Ideas
Our composite decking looks great in any setting, but you can really make your outdoor spaces shine with our decking
Products in Stock
Lowest Prices
Express Delivery
10-Year Warranty
Early April Sale. Up To 15% Off.
Adding a built-in bench to your deck is a fantastic way to maximise seating and enhance the overall design of your outdoor space. It’s functional, stylish, and surprisingly straightforward to construct, especially when you have a clear plan in mind. Whether you’re hosting a summer barbecue or simply enjoying your garden with a cup of tea, a well-built bench can make your deck the ultimate retreat. Here’s how to build one step by step.
Before you start, take some time to plan the bench. A bit of preparation will make the building process smoother and ensure your new bench complements your deck beautifully.
Start by measuring the area where you want the bench. Consider how much seating you’ll need and how it will fit within the deck’s layout. A good rule of thumb is to allow about 45cm (18 inches) of depth for the seat and 90cm (36 inches) of height for the backrest, though these can be adjusted to suit your preferences.
Do you want a simple backless bench or one with a sturdy backrest for extra comfort? Will it stretch along the entire length of the deck or just one section? These decisions will guide the materials you’ll need and the construction process. If you’re looking for a long-lasting option, consider composite decking boards for both durability and aesthetics. Not only are they low-maintenance, but they also offer a modern, polished look.
To build your bench, you’ll need the following:
Composite decking boards are an excellent choice for this project, as they resist rot, fading, and warping. If you’re still deciding on the material, click through this link to discover durable composite decking boards at Dino Decking and see why they’re a favourite for outdoor projects.
The frame is the foundation of your bench, so it’s worth taking your time to get this step right.
Using your measurements, cut the pressure-treated timber to size for the legs, supports, and base of the frame. Make sure everything is straight and even to ensure a stable bench.
Assemble the frame on a flat surface, securing the pieces with screws or bolts. Use a level to check that the frame is even, as an uneven base will lead to wobbly seating.
Once the frame is built, it’s time to secure it to the deck for stability.
Position the frame where you want it on the deck and use a pencil to mark where it will be attached. Double-check the measurements to ensure it’s aligned properly.
Drill pilot holes through the frame and into the deck boards, then use screws or bolts to secure it. This step is especially important if you’re building a bench in a high-traffic area or on a raised deck.
Now it’s time to add the seating area and backrest, which will bring your bench to life.
Cut the composite decking boards to the length of your bench, ensuring clean, even edges. Attach the boards to the top of the frame, leaving a small gap between each one for drainage and expansion.
If your design includes a backrest, cut additional boards to size and attach them to the frame. Angling the backrest slightly for comfort can make a big difference. Composite boards work particularly well here, as they’re smooth and splinter-free.
With the structure complete, it’s time to refine the bench for both comfort and aesthetics.
If you’ve used any timber in the construction, sand down rough edges or splinters. Composite boards won’t require sanding, which is one of their many benefits.
If you’re using timber for the frame or other elements, apply a wood sealer to protect it from the elements. This step is essential to keep your bench looking its best for years to come.
Your bench is almost ready—now it’s time to personalise it and make it even more inviting.
For added comfort, consider cushions that are weather-resistant and easy to clean. A pop of colour or pattern can also enhance the overall look of your deck.
Finally, accessorise with potted plants, outdoor lanterns, or a small side table nearby for drinks and snacks. A few thoughtful touches can turn a simple bench into a cosy outdoor retreat.
Building a built-in deck bench is a rewarding project that adds both style and functionality to your outdoor space. By using composite decking boards for the seat and backrest, you’re choosing a material that’s not only attractive but also built to last.
If you’re planning further deck improvements, take a look at deck board replacement guide for some more practical tips to keep your space in top shape. And don’t forget, we offer free samples of our composite decking boards, so you can see the quality for yourself before you start your next project.
Take your time, enjoy the process, and soon you’ll have a built-in bench that’s perfect for everything from summer gatherings to quiet moments with a book.
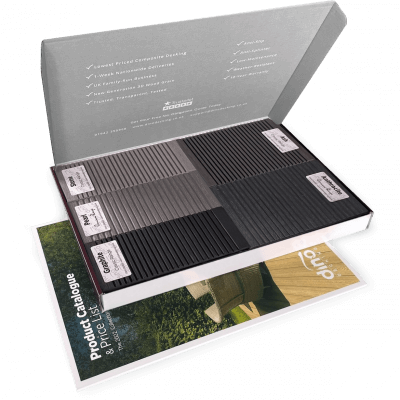
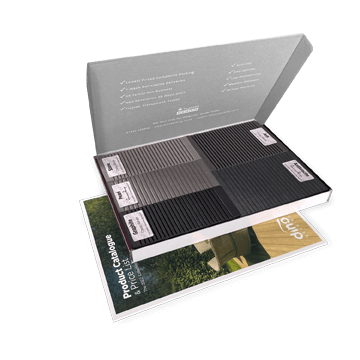
Our sample pack contains a sample piece of each colour currently available. Order your free sample pack today to compare the colours and get a true feeling of the Dino Decking range!
Our composite decking looks great in any setting, but you can really make your outdoor spaces shine with our decking
If the idea of having rats under your decking makes you shiver, don’t worry. We’ll let you know the signs
Business hours
Monday: 09:00 – 17:30
Tuesday: 09:00 – 17:30
Wednesday: 09:00 – 17:30
Thursday: 09:00 – 17:30
Friday: 09:00 – 17:30
Saturday: Closed
Sunday: Closed
Contact us
01942 355968
support@dino.co.uk
Collection Address: Unit 1 Wetheral Close Hindley Ind Estate Wigan Greater Manchester North West WN2 4HS
Pages
Products
Testing
Copyright 2025 Dino Decking Ltd All Rights Reserved.
VAT Number: GB296097848.
Company Number: 10837233.